


No-Carve Pumpkin Decorating Ideas for Kids
No-carve pumpkin decorating gives kids the whole Halloween pumpkin — choosing it, washing it, painting it, stickering it — with zero knives and zero rot-by-Friday. Ten steps take a plain pumpkin to a porch lineup that lasts for weeks.
No-carve pumpkin decorating means every design goes on the outside of an uncut pumpkin: wash it, paint a base coat, then add big stickers, googly eyes and yarn with glue dots, washi-tape stripes, and — adults only — a melted crayon drip. Kids ages 4–5 do every step themselves except the hair dryer, and the pumpkins last for weeks.

The short version
- No knives and no pins: stickers, glue dots, paint, and tape do everything.
- Wash and dry the pumpkin first — that's why stickers stick and paint doesn't bead.
- Order matters: paint, then stickers, then glue-ons, then tape, then finishing touches.
- The crayon drip is the one adult-only step (a hot hair dryer); kids direct the colors.
- Uncut pumpkins stay porch-ready for weeks, far longer than carved ones.
- Age
- Ages 4–5
- Mess
- Some
Why kids love this
Carving hands a child a pumpkin and then does the interesting parts without them — the knife work, the scooping, the drawing they cannot safely execute. No-carve pumpkin decorating returns the whole project to small hands: the pumpkin is a blank round canvas that forgives everything, and paint, stickers, googly eyes, and tape are tools a 4-year-old already masters. Every no carve pumpkin idea for kids works because nothing can be ruined — a crooked eye is a winking pumpkin, a paint blob is a beauty spot, and the pumpkin underneath never gets wounded, so it sits on the porch grinning for weeks instead of collapsing by the weekend. For preschoolers, decorating the outside of a pumpkin is not the compromise version of Halloween. It is the better project: more doing, more color, more days of admiring it from the sidewalk.
What you'll need
- 2–4 pumpkins — small-to-medium "pie" pumpkins are easiest for small hands to turn and carry
- Craft paint or washable tempera and wide brushes (chalk-finish craft paint grips pumpkin skin best)
- Large foam or vinyl stickers — faces, shapes, letters of their names if you like (big pieces only)
- Craft glue or glue dots, googly eyes in mixed sizes, yarn scraps, pom-poms
- Washi tape in a few colors and patterns
- A handful of crayons (paper peeled) and a hair dryer — for the adult-only drip finish in step 8
- Newspaper or a craft mat, a cup of water, paper towels, a tray for drying
- A damp cloth and mild soap for washing pumpkins (step 2)
Before you start
1. Cover the table and lay out zones: paint zone, sticker-and-glue zone, drying tray. Decorating works like an assembly line even for one child (the steps teach the order). 2. Peel the crayon papers yourself the day before if you plan the step-8 drip — peeling is slow work that steals the session's momentum. 3. Read the Safety notes: everything decorates the outside only, small parts stay supervised, and the hair dryer belongs to adults alone.
How to do it
-
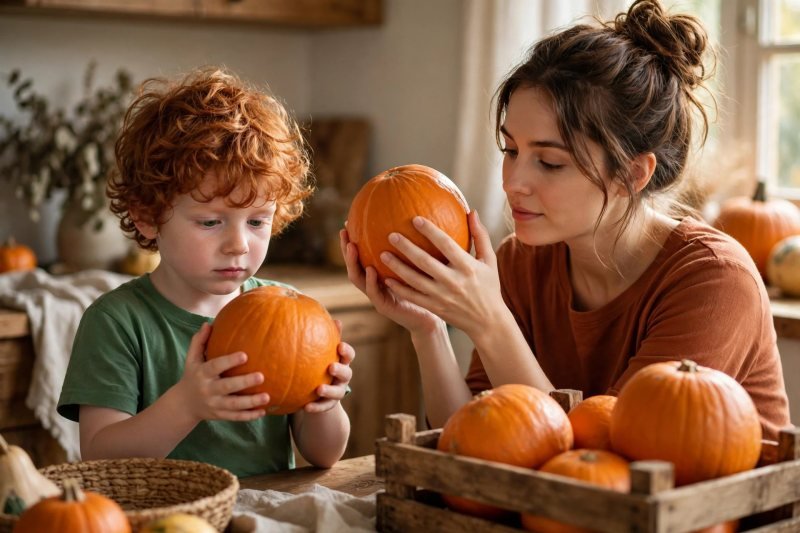
Choose pumpkins with a smooth skin and one flattish side. At the store or patch, turn each pumpkin slowly in your hands together: you want smooth, unblemished skin (paint and stickers grip it best), a stem that is attached and dry, and — the decorator's secret — one slightly flattish side that sits steady without rocking and presents a "face" to decorate. Say, "Smooth skin, steady sit, one good face side." Small-to-medium pie pumpkins beat giants for this project: small hands can rotate them solo, and three little pumpkins give a whole character cast. Skip any pumpkin with soft spots or mold near the stem; a decorating pumpkin should outlast the season's photos by weeks.
-
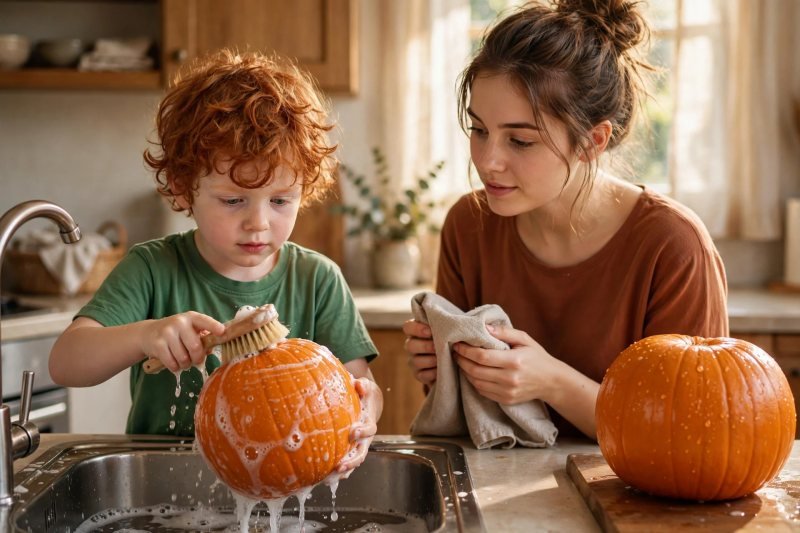
Wash every pumpkin and dry it completely. Paint and stickers fail on field dust and waxy bloom, so this step is chemistry, not chores: wash each pumpkin in the sink or a tub with a damp cloth, a drop of mild soap, and a gentle scrub, rinse, and then dry thoroughly with a towel — and let it air a few minutes more while you set up. Say, "Clean and dry, so everything sticks." A 4-year-old can run the wash station proudly (it is, secretly, a glorious water-play job with a purpose), and the difference shows all week: stickers that stay stuck and paint that doesn't bead off a dusty skin are both earned here.
-
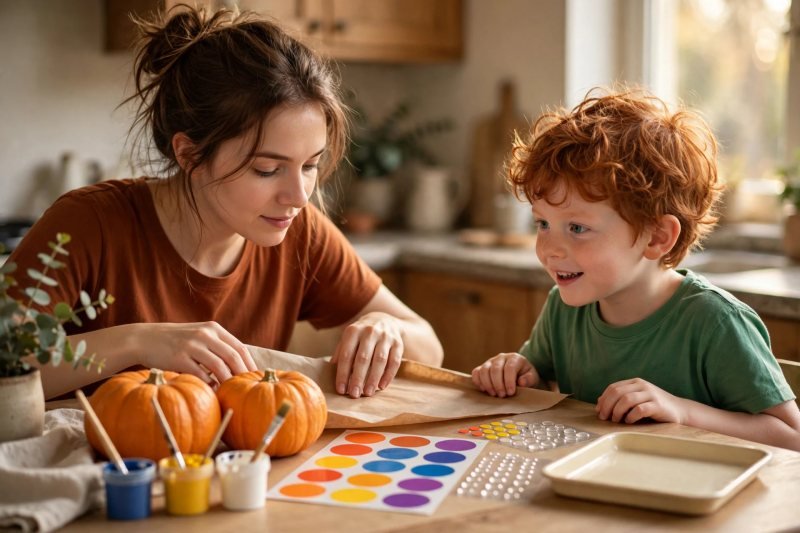
Set up the table like a workshop, zones in work order. Cover the table, then lay the line: pumpkins first; paint and brushes with the water cup and paper towels in the middle; stickers, glue, and extras next; the drying tray at the end; washi tape and crayons in a "later" bowl so the good stuff doesn't all happen at minute one. Say, "Every tool has a home; we work down the line." Smocks on, sleeves up, and one rule stated now and held kindly: the pumpkin stays whole — nothing pokes into it, everything decorates the outside. That single sentence is the whole no-carve philosophy, and 4- and 5-year-olds repeat it to visitors like a badge of office.
-
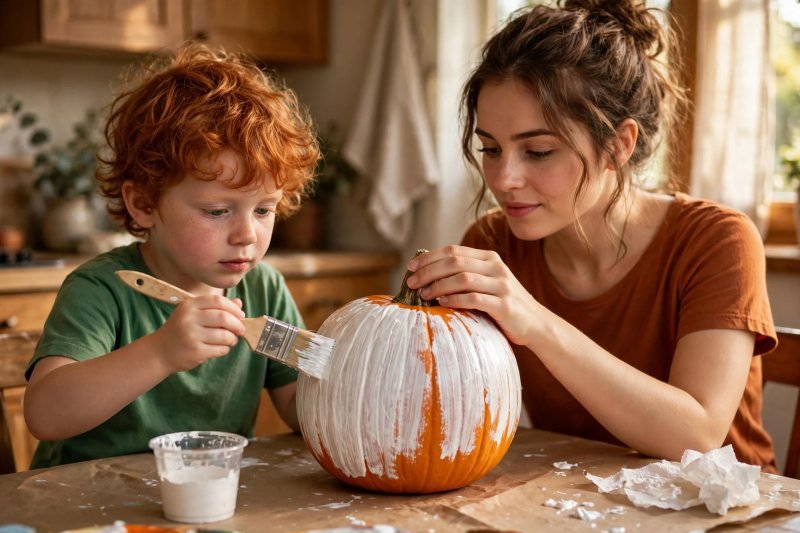
Paint a base coat and let it become the pumpkin's personality. Wide brush, generous paint, long strokes from stem to bottom: cover the face side (and the whole pumpkin if patience holds), working the brush into the grooves. White makes a ghost canvas, black a night sky, teal or purple a monster, plain orange left bare in patches is the classic. Say, "Big strokes, top to bottom — it's your pumpkin's coat." One coat of chalk-finish craft paint usually grips and covers; tempera may want a second pass after a drying snack break. Turning the pumpkin by its stem keeps small fingers out of wet paint, and a visible fingerprint or two is not a flaw — it is a signature the season keeps.
-
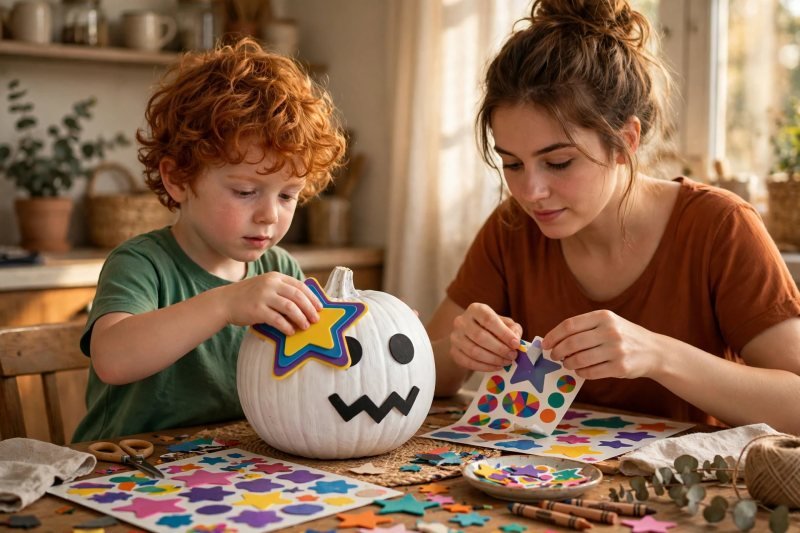
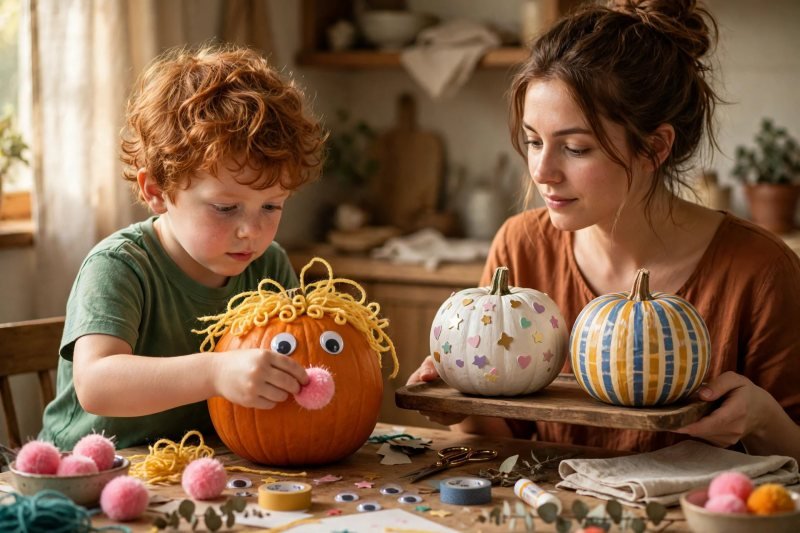
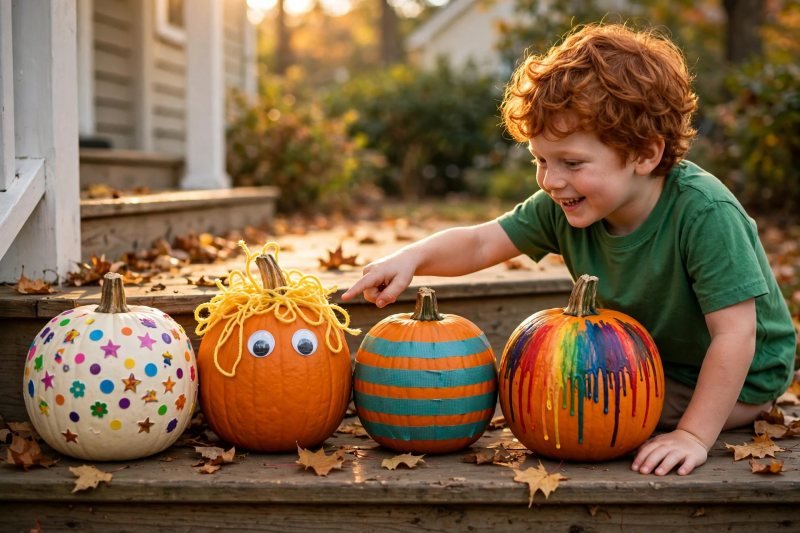
Give the pumpkin a face and features with big stickers. While simpler pumpkins dry — or on unpainted ones for the fastest of the no carve pumpkin ideas kids love — bring out the large foam and vinyl stickers: eyes high and wide, a nose in the middle, a grin or a zigzag mouth low, then stars, dots, and shapes scattered as freckles and flair. Say, "Eyes, nose, mouth — then decorate the rest like confetti." Big stickers are the point: they peel with preschool fingers, reposition once if crooked, and make a face a child designs entirely herself. A sticker-only pumpkin finished at this step is a complete, honorable project — steps 6–8 simply keep adding for kids who want more.
-
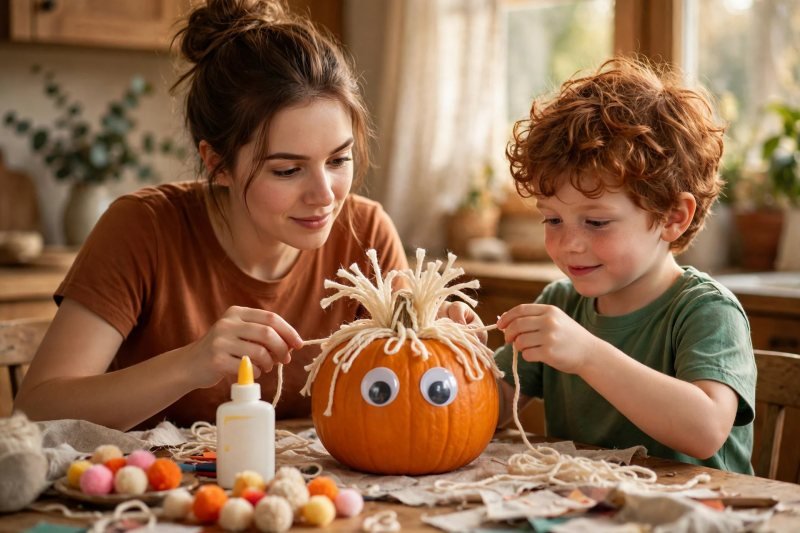
Glue the extras on the outside — eyes, yarn hair, pom-pom noses. Now the characters get their hair and jewelry: googly eyes in odd numbers and mixed sizes glued above the sticker or painted features; yarn strands draped and glued as wild hair, a mustache, or a unibrow; pom-poms as noses, ears, and earrings; felt triangles as cat ears for the animal shelf. Glue dots are the preschool-perfect adhesive — strong, instant, no drips — with school glue as the patient alternative. Say, "Everything sticks ON the pumpkin — nothing goes IN." This gluing is serious fine motor practice disguised as monster manufacture: pinching, placing, and pressing small pieces exactly where the imagination ordered them.
-
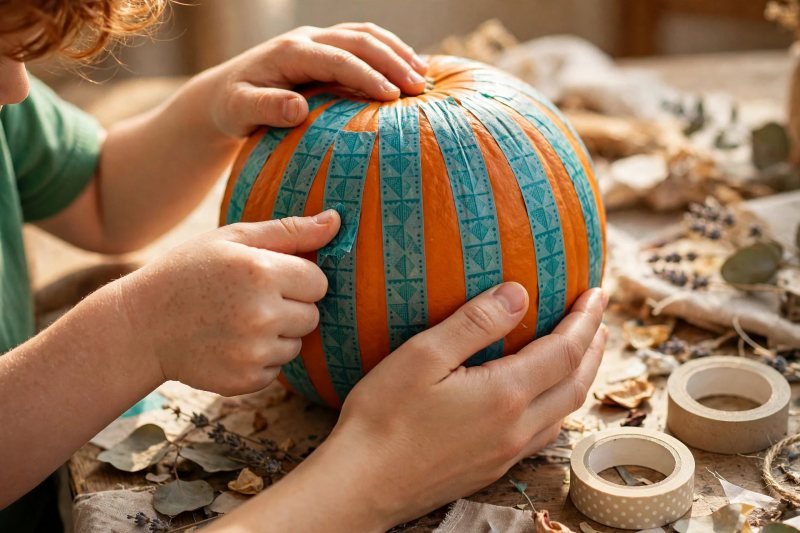
Wrap washi-tape stripes and patterns around the ribs. Washi tape is the no-mess decorator's ribbon: tear or snip strips and press them vertically along the pumpkin's natural ribs for a striped carnival look, horizontally for rings, in Xs and zigzags for the modern-art shelf, pressing each end down firmly with a thumb. Say, "Follow the lines the pumpkin grew." The tape's gentle adhesive suits small hands, repositions without tearing paint, and covers — with total forgiveness — any paint patch that went sideways in step 4. Two or three tape colors per pumpkin keeps the design bold; a rainbow free-for-all is also available and has its own chaotic charm.
-
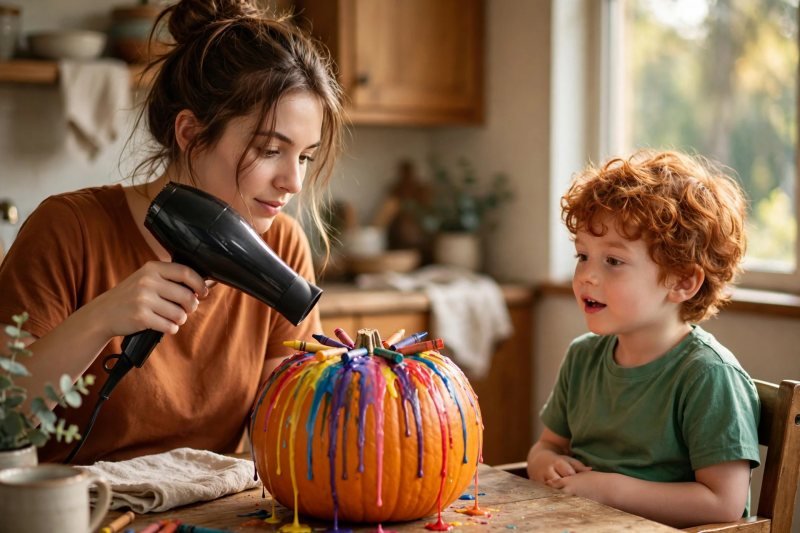
Let an adult melt a crayon-drip crown while kids direct the colors. This is the one adult-only step, and it earns its drama honestly: the child chooses and orders short peeled crayon pieces, an adult hot-glues or firmly wedges them around the stem top, and then — children seated back, watching — the adult runs a hair dryer on hot, close above them, melting the crayons into slow drips that run down the ribs like candle wax or ice-cream sauce. Say, "You pick the colors; I run the heat; we both watch the rivers." It is also a secret color mixing show — blue over yellow makes a green river on the way down. Heat tools end childhoods' fun when misassigned, so the dryer never changes hands, not once, not "just for a second."
-
Add finishing touches and park everything on the drying tray. With the structure complete, the artist reviews: a sticker moved, one more pom-pom, a name lettered in stickers along the bottom rib, a drawn-on smile extension with a paint pen in an adult's hand if the grin needs help. Say, "Last looks — what does it still need?" Then everything parks on the tray, untouched, until fully dry — paint tacky-free, glue set, tape pressed once more. Drying is a real step and not a delay: carrying a wet pumpkin by its stem at this moment is how masterpieces get thumbprints in the face. The tray by the door also builds the suspense for tomorrow's porch debut.
-
Line the cast up on the porch and take the portrait. Carry the dry pumpkins out together and arrange the lineup on the porch steps, the stoop, or a windowsill stage — tallest at the back, the family's favorite at the front — grouping them like the character cast they are. Say, "Line up, everybody — picture time." Take the portraits in daylight and again at dusk with the porch light on; the same pumpkins read as friendly at noon and deliciously spooky at six o'clock. Because nothing was cut, this lineup keeps its faces for weeks — refresh the arrangement, add fallen leaves as scenery, and let your decorator give visitors the tour, pointing out which pumpkin got the crayon crown and which one she washed herself.


Make it easier
Decorate with stickers only on an unpainted pumpkin — choosing, washing, and a ten-minute sticker session is a complete project for a tired day. Give one pumpkin per child and pre-portion the extras into muffin-tin cups so grabbing replaces negotiating. Use glue dots for everything (no glue bottles, no drying waits) and chunky foam shapes instead of pom-poms. A second no-knife project for a rainy afternoon is our bird feeder craft for preschoolers, which uses the same glue-and-stick skills.
Make it harder
Design a themed cast on purpose — a cat, a witch, and a one-eyed monster — sketching faces on paper first, then executing the plan across three pumpkins. Paint detailed scenes instead of a base coat: a night sky with sticker stars, a haunted-house silhouette, a spiderweb of white lines over black. Add paper engineering: cone hats, bat wings of cardstock, and a tissue-paper ghost body glued at the stem — sculpture, not just decoration.
Other ways to play it
- Character shelf: dedicate the lineup to book or movie favorites built from paint color plus two signature extras (yarn hair color, a hat, a scar) — guessing games for visitors. More friendly, not-scary projects in the same spirit are in our Halloween crafts for preschoolers roundup.
- Glow pumpkins: finish with a coat of glow-in-the-dark craft paint over the designs; charge them by the porch light and let the dusk portraits glow.
- Thanksgiving second act: because uncut pumpkins last, sticker faces peel off and painted pumpkins become November centerpieces with leaf collars and ribbon — one pumpkin, two holidays. When the holidays turn, the same sticker-and-paint skills carry into our Christmas crafts for toddlers roundup.
How it changes by age
- Age 4: Fours thrive on the boldest tools: one paint color or none, the biggest stickers, glue dots, a whole pumpkin to command. Expect a gorgeous chaos of eyes everywhere and short sessions — set a second pumpkin aside so "more" never has to mean "ruin this one."
- Age 5: Fives plan: they sketch the face first, mix two paint colors for a custom base (teal monster is a perennial), execute the washi geometry carefully, and direct the crayon colors like a film director. Their lineup tends to have a story, and the porch tour becomes a narrated show.
What they're learning
Fine motor control: peeling stickers, pinching glue dots, pressing yarn into place, and tearing tape to length are precision work for fingers (the same skill family as their pencil-grip practice). Planning and sequencing: wash before paint, paint before stickers, dry before display — a ten-step project with a true order of operations teaches process thinking. Color and design judgment: choosing a base, a feature color story, and a tape palette — then living with the result — builds an early designer's eye. Patience and care: a decorated pumpkin that lasts for weeks rewards gentle handling and makes delayed gratification visible on the porch.
Clearing up
Peel and bin the table cover with the whole mess folded inside; brushes rinse in the water cup then the sink until they run clear, and washi rolls and sticker sheets go back in the craft box with their backs on. Stray googly eyes get a floor sweep with particular care — they are next week's barefoot surprise otherwise. Hands and forearms wash with soap (paint under nails may need the nail brush), the drying tray becomes the porch-transport tray tomorrow, and the finished pumpkins' portrait goes to the family chat before the sidewalk tour begins.
Questions parents ask
What age can kids do no-carve pumpkin decorating?
What paint works best on pumpkins?
How long do no-carve decorated pumpkins last?
Can kids decorate pumpkins with just stickers?
Is the melted crayon pumpkin safe for kids to make?
How do you get stickers to stay on a pumpkin?

save it for later
Pin this for the next rainy afternoon
Keep it on a board so it is there when you need it, rather than when you happened to find it.
Save to Pinterest
