


Halloween Crafts for Preschoolers
These Halloween crafts for preschoolers are friendly, not scary: paper-plate mummies, handprint monsters, cotton-ball ghosts, and apple-stamped pumpkins, made step by step with washable supplies and no carving.
The best Halloween crafts for preschoolers are friendly, fast, and finishable: wrap a paper-plate mummy in yarn, glue a fluffy cotton-ball ghost, print handprint monsters, and stamp pumpkins with an apple half. Use washable paint, glue sticks instead of bottled glue, and paper eyes instead of googly eyes for the youngest crafters.

The short version
- Friendly, not scary: every face is a grin the child designs themselves.
- One covered table, crafts in order — mummy, handprints, stamped pumpkins, ghost, blob monsters, puppet, garland.
- Washable paint and glue sticks keep mess and frustration low.
- Googly eyes only from an adult-controlled bowl; paper eyes are the under-3 swap.
- Finish with a garland and an artist walk so the session ends in pride, not clutter.
- Age
- Ages 3–5
- Prep
- 10 min
- Play time
- 45 min
- Mess
- Some
- Where
- Indoor
Why kids love this
Preschoolers love Halloween crafts that feel like the holiday without any of the fright. A mummy with a goofy grin, a monster made from their own handprint, a ghost that is mostly fluff — these are Halloween crafts for preschoolers that a small child can finish proudly, carry around the house, and explain to every visitor. Because each make takes only a few minutes, a 3- to 5-year-old gets the full arc in one sitting: choosing, making, finishing, and showing off. And because the whole session runs in order on one covered table, you get an hour of calm, focused making instead of a glitter explosion in every room.
What you'll need
- White paper plates and a ball of white yarn or white crepe-paper streamers
- Washable paint in green, orange, purple, and black, plus paintbrushes and a water cup
- Black construction paper and a bag of cotton balls
- Glue sticks (easier and less drippy than bottled glue for this age)
- Large googly eyes, used with supervision — or paper circles and a black marker for a safer swap
- One apple cut in half, a small real or foam pumpkin for stamping practice
- Brown paper bags, white paper, and safety scissors
- A washable table cover or an old sheet, plus a bowl of warm soapy water and a towel for hands
Before you start
1. Cover the table before anything comes out — once the cover is down, every craft in this session happens on it, in order. 2. Pre-cut the yarn into arm-length strips and tear the cotton balls into a bowl; preschoolers finish more and wait less when pieces are ready to grab. 3. Read the Safety notes first: googly eyes stay in a small bowl under your control, and paint clothes go on before step 1, not after the first spill.
How to do it
-
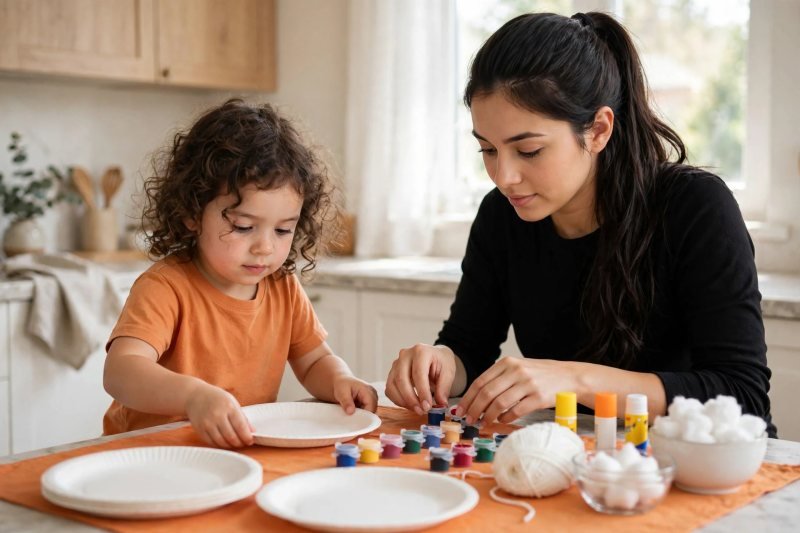
Cover the table and lay out the craft tray together. Spread the table cover, then invite your child to help you set out the plates, yarn, cotton balls, paint pots, and glue sticks in a row, naming each thing as it lands. Say, "Today we're making friendly Halloween things — a mummy, a monster, a ghost — and everything we need lives on this table." A preschooler who helped set up knows where things belong, asks for materials instead of grabbing across the paint, and treats the session like real work. Keep the googly eyes in a little bowl beside your seat, not in the row — that one quiet choice runs the whole safety plan without a single lecture.
-
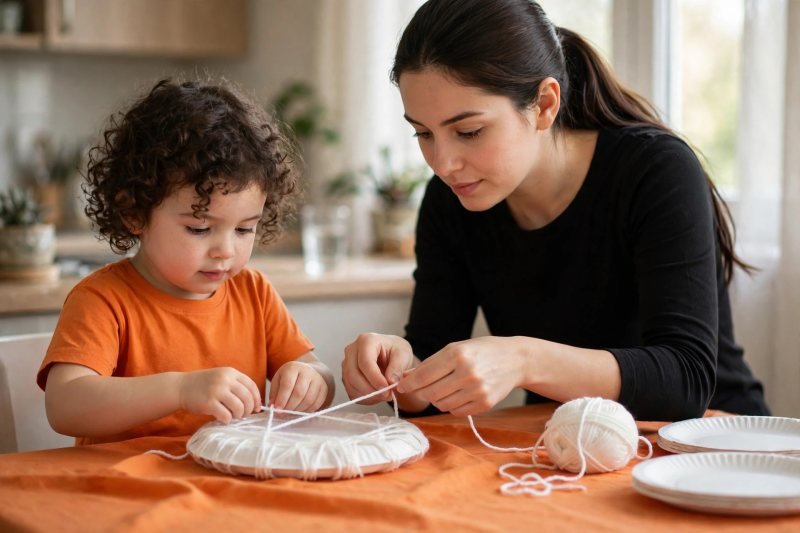
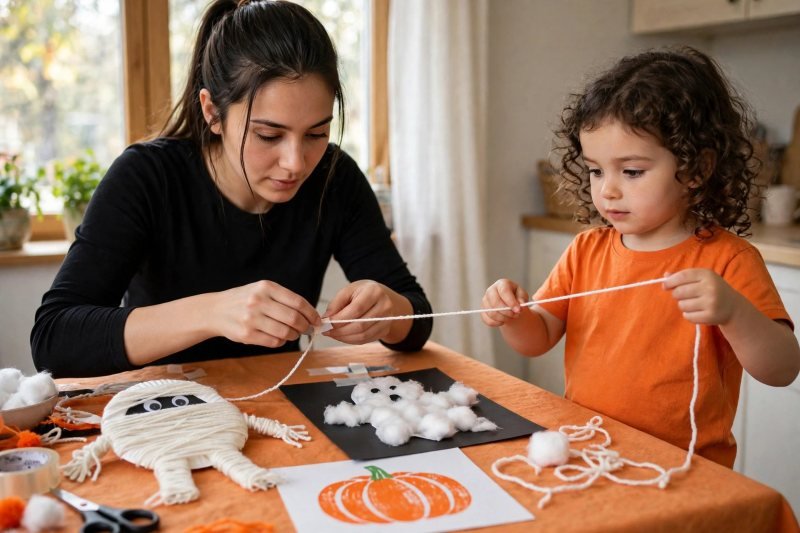
Wrap a paper-plate mummy with yarn. Hand your child a paper plate and a strip of white yarn, and show them how to wind it round and round the plate, crossing over and under in every direction, taping or tucking the loose ends behind. Say, "Mummies are all wrapped up — let's wrap ours until we can only see peeks of plate." Little hands managing yarn are doing serious fine-motor work, and there is no wrong pattern to worry about, which makes this the perfect first make. When the plate looks nicely bandaged, set it aside to meet its eyes in the next step, and shake out those working fingers.
-
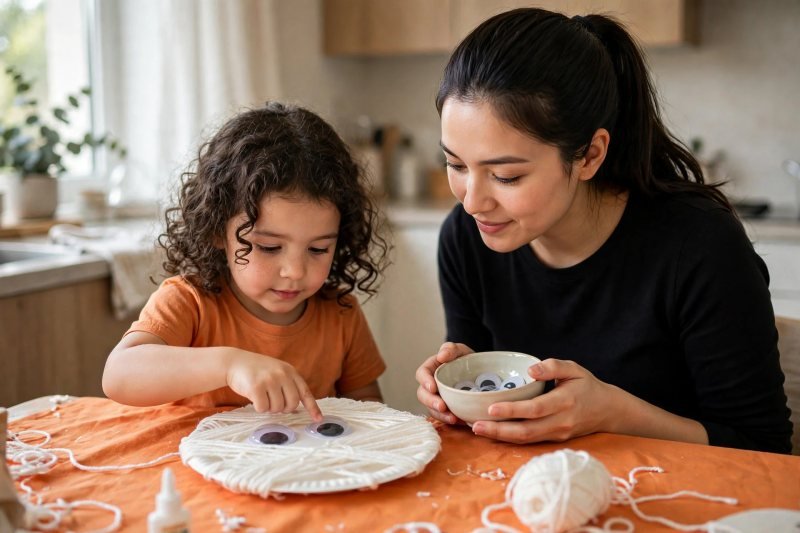
Give the mummy its googly eyes and a goofy grin. From your bowl, pass your child two large googly eyes, one at a time, to glue onto the wrapped plate wherever the face feels right. Then draw — or let them draw — a wobbly smile with the black marker, deliberately silly rather than spooky. Say, "Our mummy looks surprised! Should his mouth be a grin or a giggly zigzag?" This is where the session's rule gets spoken out loud: our Halloween friends are friendly. A child who designs the face themselves owns the emotion of the craft, and a grinning mummy is far less likely to be the thing that worries them at bedtime. Stand the finished mummy against the water cup to watch the rest of the session.
-
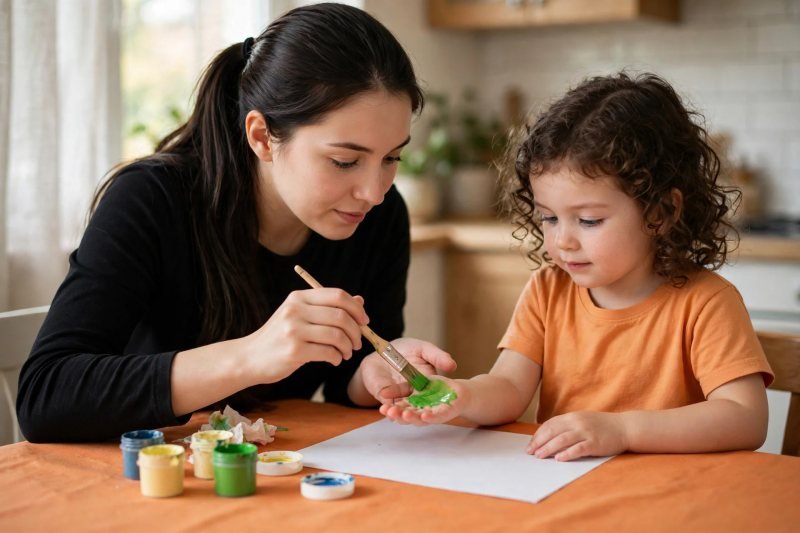
Paint and print handprint monsters. Brush green or purple washable paint onto your child's open palm, fingers spread, and press the hand firmly onto white paper, fingers up. Say, "Hold still like a statue… press… and lift straight up like an elevator!" While the print dries, talk about what kind of monster it wants to be. When the paint is tacky-dry, glue or draw on eyes — one giant eye, three little ones — plus a smile and horns if the artist insists. Handprint crafts double as keepsakes, and the sensory squish of painted palms is half the joy; rinse hands in the soapy bowl between colors so your monsters stay the color they were promised.
-
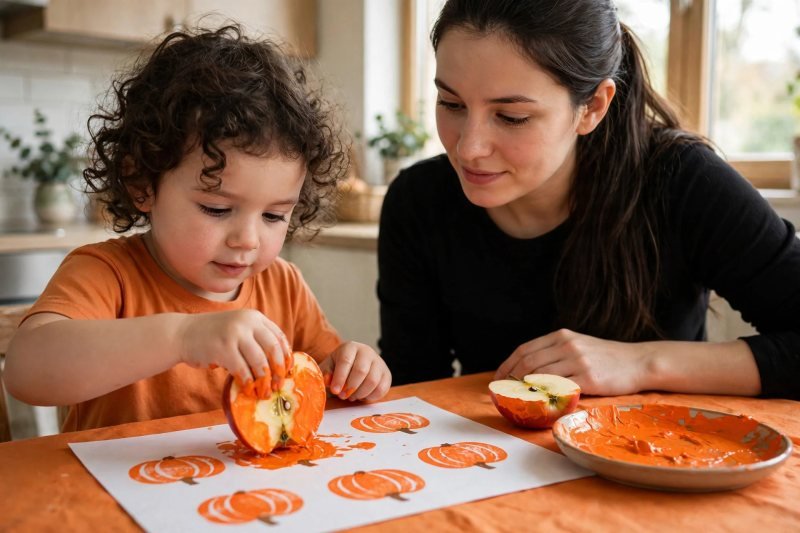
Stamp pumpkins with an apple half. Pour orange paint into a shallow dish, press the cut side of the apple half into it, and stamp plump pumpkin shapes onto paper — the apple's round-with-a-dimple shape is a ready-made pumpkin. Say, "Stamp, lift, stamp, lift — a whole pumpkin patch!" Add a short brown thumbprint stem to each one once the orange is down, and a green fingerprint leaf for gardeners who want detail. Stamping gives preschoolers a perfect result from a simple action, which is exactly the confidence this age runs on. Line the pumpkin patch along the table edge to dry, out of elbow range.
-
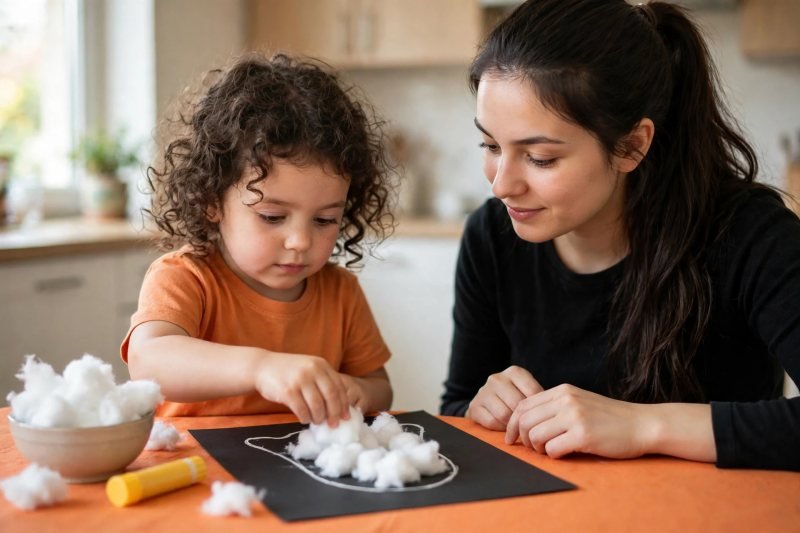
Glue a fluffy cotton-ball ghost. Draw a simple ghost outline on black construction paper — a friendly rounded hill with a wavy bottom — and let your child fill it with glue and torn cotton balls until no black shows inside the lines. Say, "Our ghost is made of clouds — let's make him the fluffiest ghost on the street." Tearing cotton and placing it inside a boundary builds the same hand strength and control that early writing needs, and the black-and-white contrast makes even a first-timer's ghost look genuinely striking. Add two paper-circle eyes and a small round "ooh" mouth in black paper, more surprised than scary, and rest the ghost beside the mummy.
-
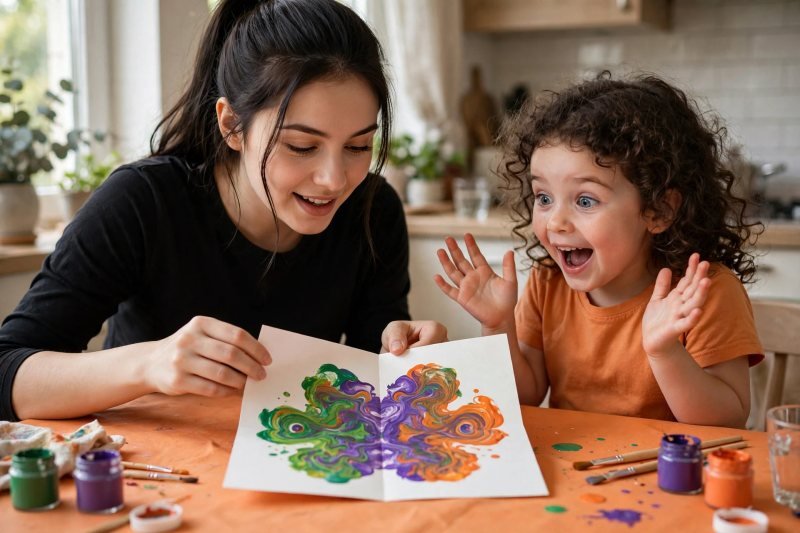
Squish-paint blob monsters in folded paper. Drop three or four pea-sized blobs of different paints onto one half of a fresh sheet, fold the paper over, and let your child press and rub it flat with both palms. Open it together for the big reveal: a perfectly symmetrical, gloriously weird blob monster. Say, "What did the paint make while we weren't looking?" This is where mixing colors becomes real learning — if your child loves watching new colors appear, the experiments in our guide to color mixing activities for preschoolers stretch the same idea much further. Finish each blob with drawn or glued eyes once dry, and name every monster out loud; naming is non-negotiable.
-
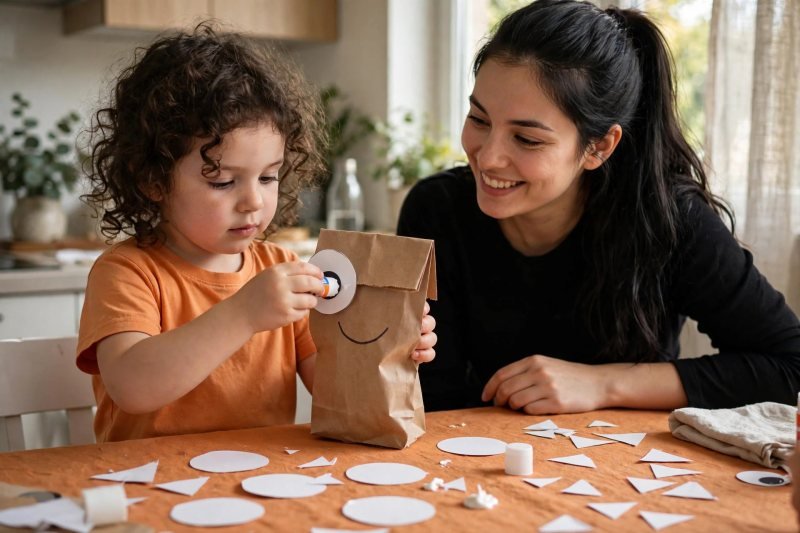
Turn a paper bag into a monster puppet. Slide a brown paper bag over your child's hand, flap at the palm, and show them where the puppet's face lands when the flap moves. Glue on big paper eyes, a row of white paper triangle teeth under the flap, spots, stripes, or yarn hair — the wilder the better. Say, "When you open your hand, your monster talks — what does he say first?" Puppet-making converts crafting into storytelling, and the squeezing, gluing, and placing are the same fine motor activities for preschoolers that build writing-ready hands, dressed up as play. Test every puppet with one joke before it joins the audience by the water cup.
-
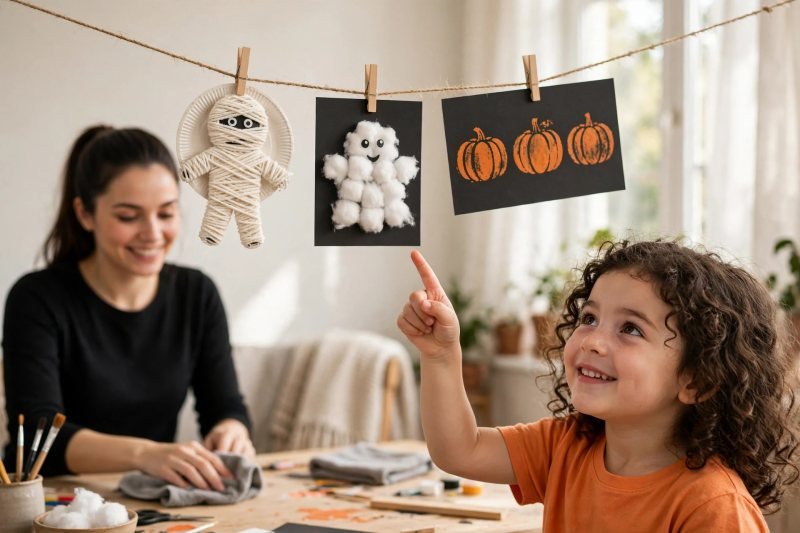
String the finished crafts into a Halloween garland. Once the paint pieces are dry to the touch, help your child thread or tape the mummy, ghost, and a spare stamped pumpkin onto a long length of yarn, spacing them like beads on a necklace. Say, "Everything you made today is going up on the wall — you're the artist of this whole show." Threading and spacing are quiet, absorbing work that slows the session's energy down gently before tidy-up, and a garland turns six small crafts into one big achievement a preschooler can point at for weeks. Carry it together to its hanging spot — over a doorway or along a bookshelf — with all the ceremony it deserves.
-
Hang the gallery, do the artist walk, and tidy up together. Pin or tape the garland up, stand the puppet and leftover pieces along the shelf, and take a slow "artist walk" past every piece while your child tells you what each one is and how it was made. Say, "Tell me about this one, artist." Retelling the steps in order is early sequencing and storytelling practice hiding inside pride. Then tidy as a team: lids on paint, yarn back in its ball, brushes in the water, table cover shaken outside. End with the soapy hand-wash — after paint, glue, and cotton fluff, clean hands are the session's official closing ceremony.


Make it easier
Pick just two crafts — the yarn mummy and the cotton-ball ghost are the most forgiving — and stretch them across the whole session. Swap googly eyes entirely for drawn or paper-circle eyes if your child still mouths objects. Pre-wrap half the mummy's yarn so small hands only finish the job.
Make it harder
Let your child draw the ghost outline and the puppet's teeth freehand before cutting with safety scissors. Add a design brief: "Make a monster with exactly five eyes and a hat," then count and check together. Invite them to "teach" the puppet craft to a stuffed animal audience, explaining each step aloud.
Other ways to play it
- Pumpkin-patch party: skip the garland and decorate real mini pumpkins instead — paint, stickers, and glued paper faces on the outside only, no carving. The full session is in our no-carve pumpkin decorating guide.
- Glow-window version: make the ghost and mummy on black paper with white and neon paints, then tape them to a window where the light comes through.
- Classroom or group version: set each craft as a station with its own tray, and rotate children every ten minutes; the garland step becomes a shared class string.
- Next seasonal session: Christmas crafts for preschoolers, same ages, same covered table.
How it changes by age
- Age 3: Stick to the mummy, ghost, and stamping steps, with eyes made from paper circles instead of googly eyes. Expect wrapping and gluing to be delightfully random, keep the session near 30 minutes, and do hand-over-hand help with the paintbrush without ever taking the craft away from them. For a younger sibling, our Halloween crafts for toddlers simplify the same session further.
- Age 4: The full ten-step session fits well. Fours can tear their own cotton, thread their own garland with a taped yarn end, and start making design decisions — monster eye counts, mummy grin shapes — that you genuinely follow.
- Age 5: Add the design briefs from Make it harder, freehand drawing before cutting, and a dictated "artist statement" written by you on the back of one piece. Fives also make excellent garland engineers — measuring the doorway with yarn is real early math.
What they're learning
Fine motor control: wrapping yarn, tearing cotton, squeezing glue, and threading a garland all build the hand strength and precision that handwriting grows from. Color knowledge: stamping, mixing folded blobs, and choosing monster colors teach color names and what happens when colors meet. Sequencing and storytelling: retelling the session on the artist walk, and voicing the puppet, practice ordering events and inventing dialogue. Confidence with seasonal themes: designing friendly faces gives children authorship over a holiday that can otherwise feel big and spooky. Early math: counting eyes, spacing garland pieces, and matching a design brief ("exactly five eyes") are counting with a purpose. The handprint technique carries over to Christmas handprint crafts for kids.
Clearing up
Work the table left to right: lids on paint pots, brushes into the water cup to soak, yarn re-wound, cotton scraps into one bag for the bin. The table cover is the hero of this session — lift it by the corners and shake it outside, and the glitter-and-snip evidence leaves with it. Wash the table, wash hands and forearms with the soapy bowl, and hang any still-damp pieces on the garland line to finish drying. Crafts worth keeping go on the wall, not in a drawer; the puppet earns a shelf spot until Halloween.
Questions parents ask
What are the easiest Halloween crafts for preschoolers?
How do I keep Halloween crafts friendly instead of scary for young kids?
What supplies do I need for preschool Halloween crafts?
Are googly eyes safe for preschoolers?
How can I make Halloween crafting less messy with preschoolers?
Can a 3-year-old do these Halloween crafts?

save it for later
Pin this for the next rainy afternoon
Keep it on a board so it is there when you need it, rather than when you happened to find it.
Save to Pinterest