


Christmas Crafts for Preschoolers
Christmas crafts for preschoolers work best as one calm session: set up once, make six simple crafts in a row, then display and tidy up together. Every make here uses big pieces, washable supplies, and steps a 3- to 5-year-old can truly do.
Christmas crafts for preschoolers are simple, short makes using big pieces and washable supplies: a paper-plate Santa, a cotton-ball snowman, a handprint reindeer, a paper chain garland, fingerprint trees, and sticker ornaments. Set up once, make them one at a time, display them together, wrap one as a gift, and tidy up to music.

The short version
- One setup, six short crafts — preschoolers succeed when each make takes just a few minutes.
- Use washable, non-toxic paint and glue, large pieces, and pre-cut shapes for younger children.
- Peeling, pinching, threading, and pressing build fine motor strength while kids decorate.
- Display everything together at the end so children see the full result of their work.
- Wrapping one craft as a gift adds a kind, generous finish to the session.
- Supervise small parts like pom-poms and googly eyes closely, especially with younger siblings around.
- Age
- Ages 3–5
- Prep
- 10 min
- Play time
- 45 min
- Mess
- Some
- Difficulty
- Easy
- Where
- Indoor
Why kids love this
Christmas crafts for preschoolers feel like real holiday magic because children make the decorations themselves. Each craft is short, so success comes fast, and seeing all six hanging up at the end gives preschoolers a proud "I made Christmas" moment they can show everyone.
What you'll need
- White paper plates, thick paper, and construction paper in red, green, brown, and white
- Cotton balls, pom-poms, and large googly eyes with peel-off backs if possible
- Washable glue sticks and a small pot of school glue with a brush
- Washable paint in brown, green, red, yellow, and blue, plus shallow trays for handprints and fingerprints
- Child-safe scissors, a hole punch, tape, string, and clothespins for display
- Stickers, crayons, tissue paper, and a small gift bag or box for wrapping one craft
- A wipeable mat, aprons or old shirts, and a damp cloth for hands
Before you start
1. Cover the table, lay out one craft's supplies at a time, and keep the rest in a tray out of reach. 2. Pre-cut circles, strips, and tree shapes for younger preschoolers so the session stays about making, not waiting. 3. Pour tiny amounts of paint into trays and set the damp cloth in the middle of the table. 4. Hang a short display string across a window or shelf so finished crafts have somewhere proud to go.
How to do it
-
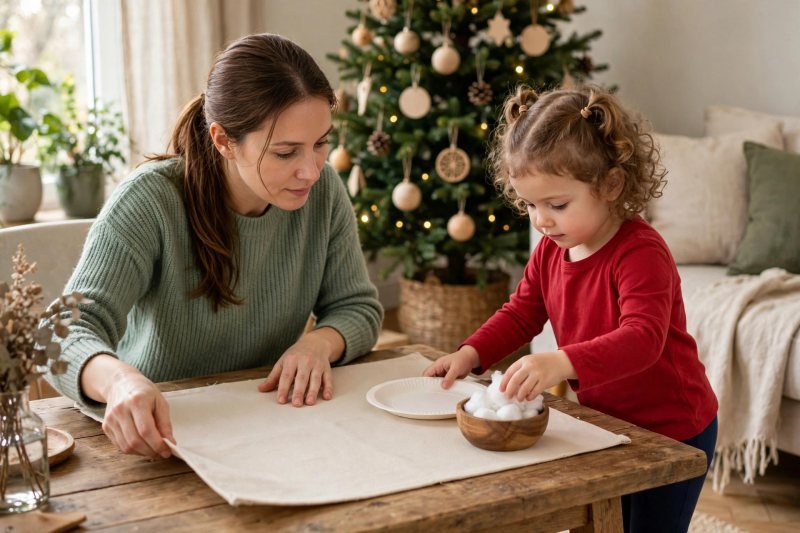
Set up the craft table together. Cover the table with the mat, put on aprons, and set out only the paper plates, glue, and cotton balls for the first crafts. Say: "Today we are making our own Christmas decorations, one at a time." Let your child choose where to sit and place the damp cloth within reach for sticky fingers. Like other preschool learning activities at home, a calm setup keeps the fun going longer. Table ready, hands clean — start with Santa.
-
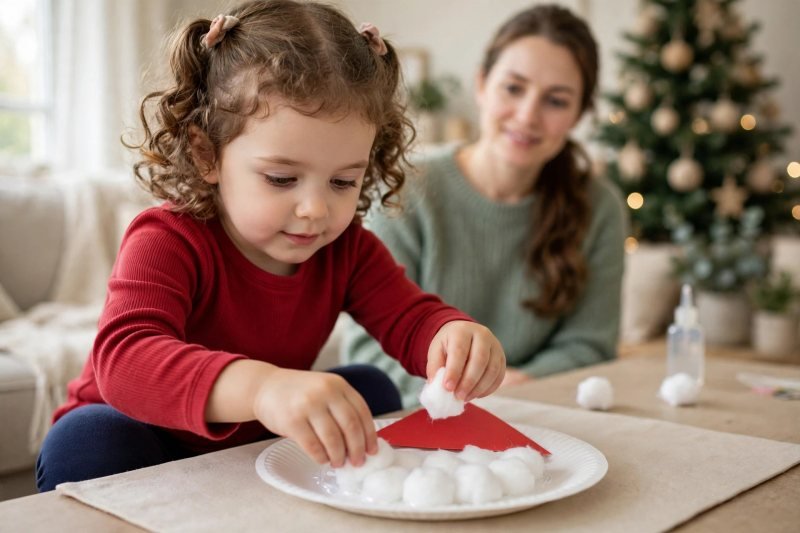
Make a paper-plate Santa face. Give your child a paper plate, a red paper triangle hat, and a pile of cotton balls. Say: "Santa needs a fluffy beard — can you fill the whole bottom of the plate?" Your child spreads glue on the lower half and presses cotton balls on one by one, then sticks the hat on top and adds two eyes and a pom-pom nose. Leave a small white space for the face so Santa can smile. Beard fluffy and hat on — set Santa aside to dry and bring out the snowman paper.
-
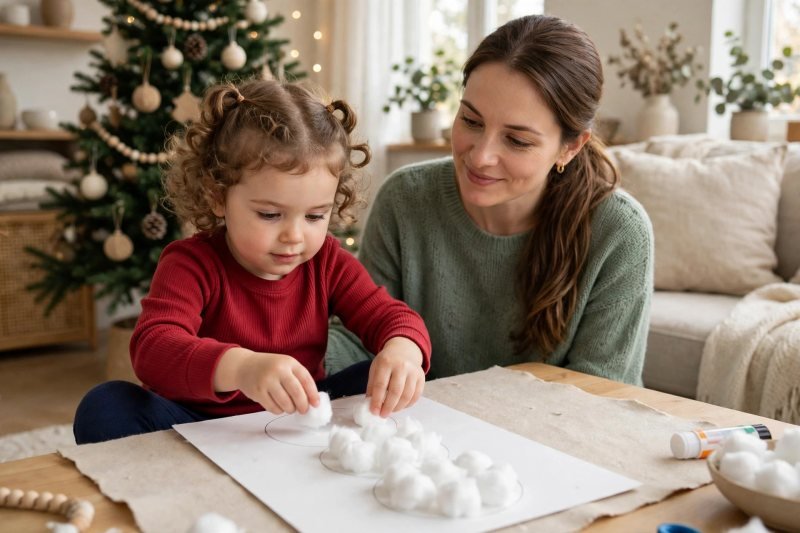
Glue a cotton-ball snowman. Draw or pre-cut three stacked circles on thick paper and hand over more cotton balls and glue. Say: "Let's build a snowman who never melts — cover every circle until you can't see the paper." Your child fills the circles, then adds sticker eyes, a tiny orange paper triangle nose, and stick arms from brown paper strips. Count the cotton balls together as they stick for a little number play tucked inside the craft. Snowman complete — clear the cotton away before the paint comes out.
-
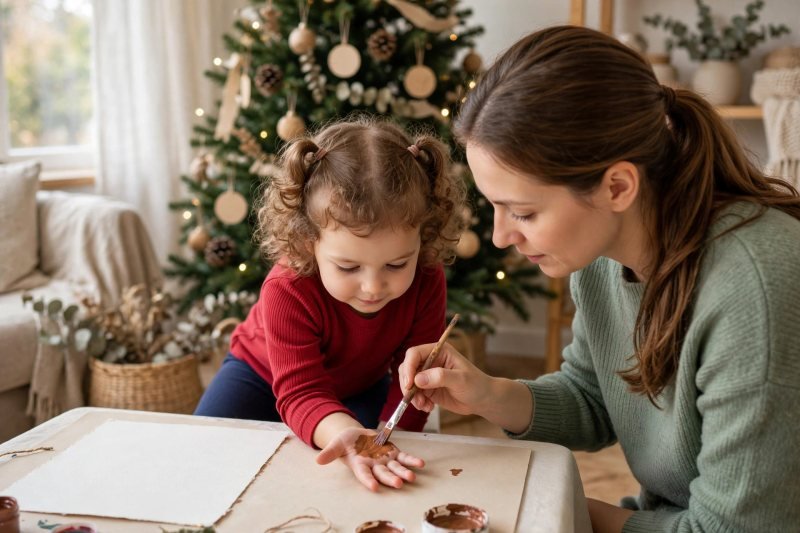
Press a handprint reindeer. Brush brown washable paint onto your child's palm and fingers, keeping it thin so the print stays clear. Say: "Your hand is the reindeer's face and your fingers are the antlers — press down and hold still." Your child presses onto thick paper, lifts straight up, and washes their hand right away. When dry, they add a red pom-pom nose, googly eyes, and a smile with a crayon. This squeezing, pressing, and sticking is exactly the kind of play in these fine-motor activities for preschoolers. Reindeer drying — move on to the chains.
-
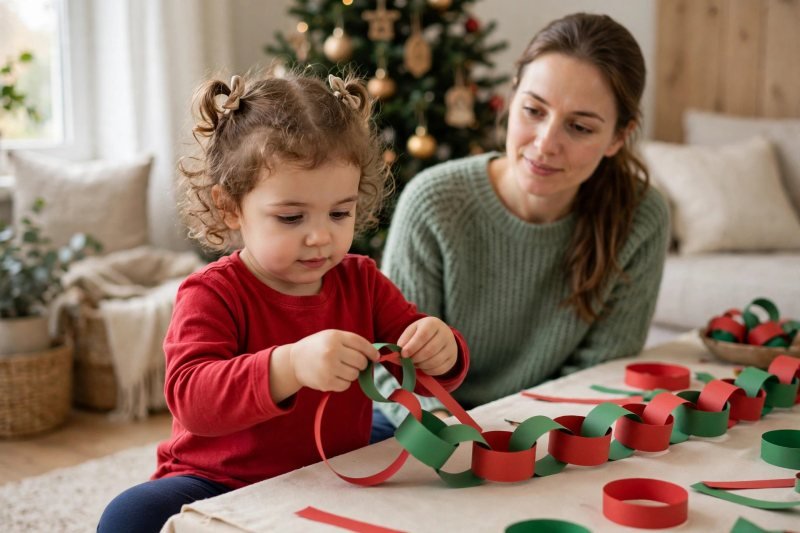
Build a paper chain garland. Show one finished loop first: a paper strip, glue on one end, curled into a circle through the last loop. Say: "Every loop holds hands with the next one — red, green, red, green." Your child brushes glue, you help hold the loop closed for a slow count of ten, then they thread the next strip through. Keep going until the chain drapes across both your laps. Choosing the next color and repeating the pattern is gentle early math, much like color mixing activities for preschoolers build thinking through hands-on play. Garland growing — hang it up later and start the trees.
-
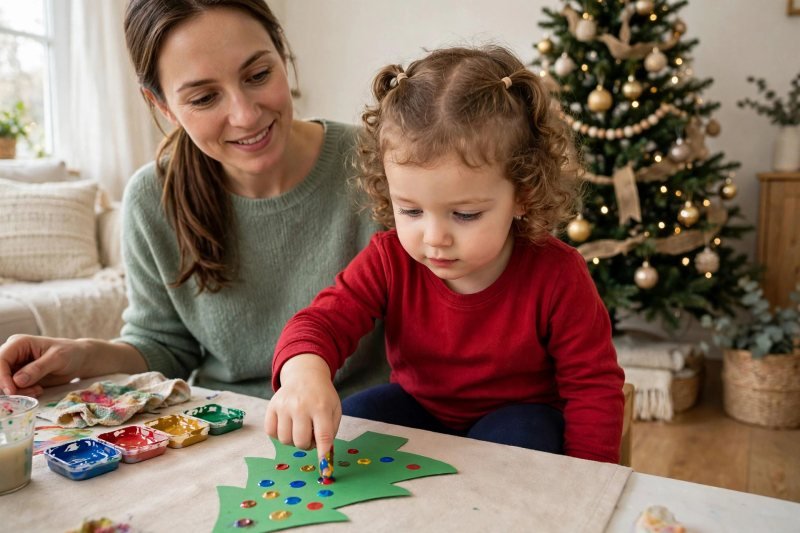
Stamp fingerprint Christmas trees. Draw a simple green triangle tree outline on thick paper or use a pre-cut tree shape glued to a card. Say: "Your fingertip is a tiny light — dab, press, lift, and fill your tree with lights." Your child dips one fingertip in red, yellow, or blue paint and presses dots inside the tree, wiping the finger between colors. Add a sticker star on top when the dots dry a little. Wipe hands well when the last light is on — sticker ornaments are next and need dry fingers.
-
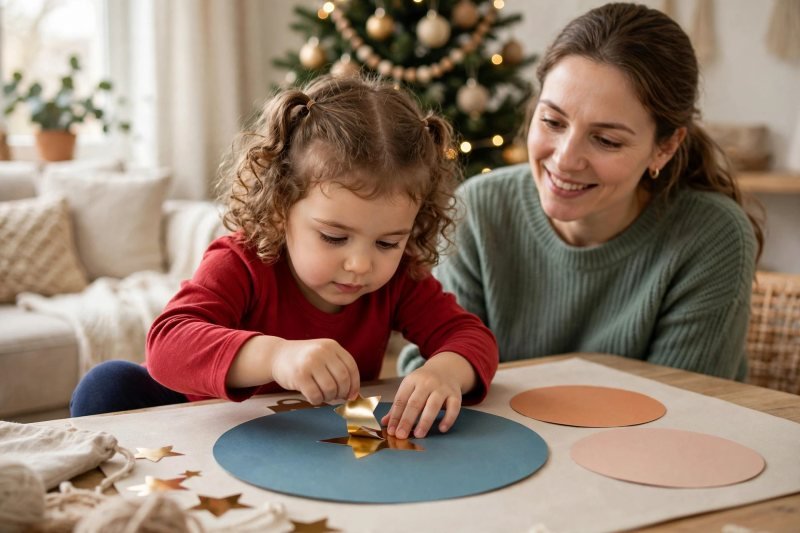
Decorate sticker paper ornaments. Give your child three large paper circles in different colors, a sheet of dot and star stickers, and crayons. Say: "These ornaments are yours to design — patterns, faces, or dots everywhere, you choose." Your child peels and sticks, which is wonderful finger-strength work, and draws swirls in the gaps. Punch a hole at the top of each circle and thread a short string loop so they can hang. Ornaments finished — now the whole collection comes together for display.
-
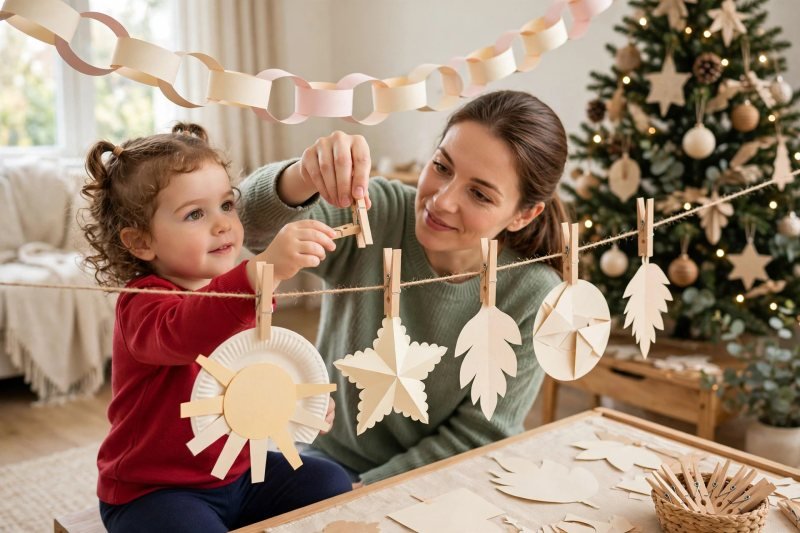
Display all the crafts together. Carry the dry crafts to the display string and hang the garland across the top, Santa and the snowman in the middle, the reindeer and tree cards beside them, and the paper ornaments dangling below. Say: "Look what you made — let's hang them where everyone can see." Let your child use clothespins with your help and step back together to admire the wall. Take a moment to name each craft out loud before choosing one special piece to give away.
-
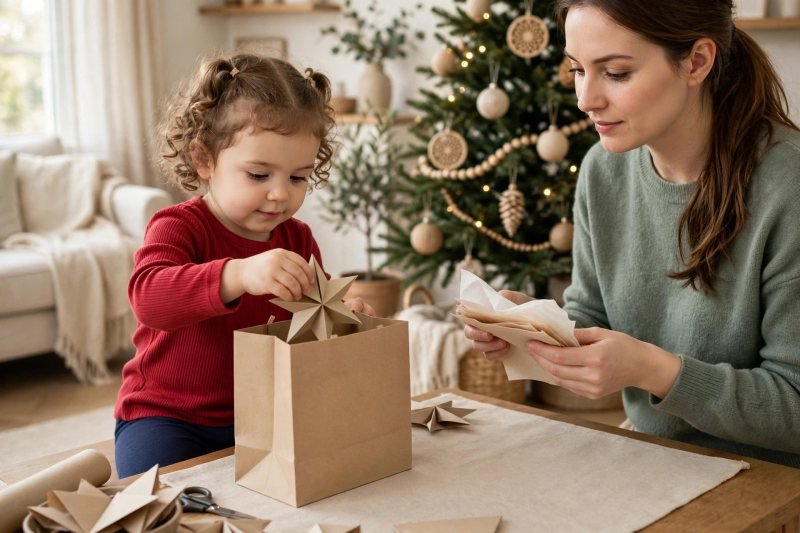
Wrap one craft as a gift. Ask your child to pick one craft for a grandparent, teacher, or neighbor and place it gently in the gift bag with a sheet of tissue paper on top. Say: "Handmade gifts are the best kind — who will smile when they open this?" Your child adds a fingerprint card if they like and carries the bag to a safe shelf by the door. Giving a craft away teaches that making things can be a way to care for people. Gift ready — only the tidy-up celebration is left.
-
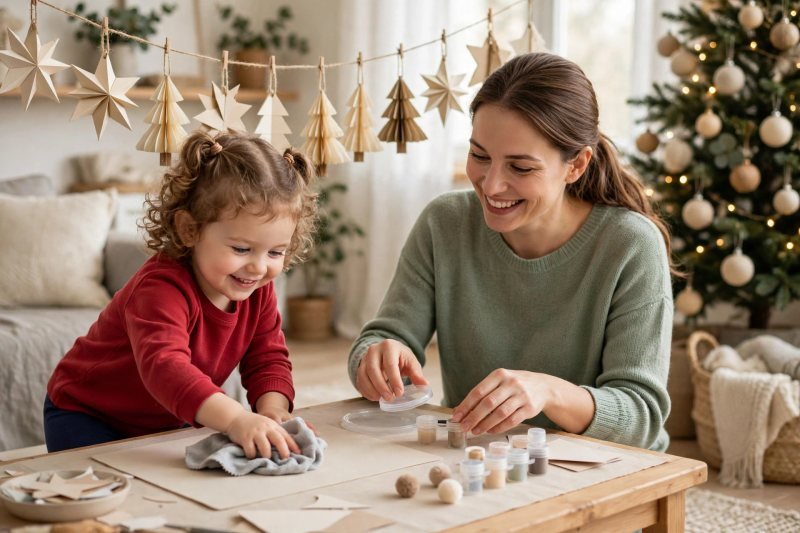
Tidy up and celebrate your work. Put on a favorite song and tidy to the music: lids on glue, paint trays to the sink, paper scraps in the bin, cotton balls swept into a pile. Say: "Crafters always leave their table ready for next time." Your child wipes the mat, hangs their apron up, and washes their hands with soap. Finish by standing in front of the display together for a big cheer and a photo. Session complete, decorations up, and Christmas officially started in your house.


Make it easier
Offer just two or three crafts in one sitting and save the rest for another day. Use glue sticks and peel-off sticker dots instead of liquid glue and tiny pieces. Pre-cut every shape and let your child focus only on sticking, pressing, and decorating.
Make it harder
Let your child cut their own strips and circles with child-safe scissors and close supervision. Ask for patterns in the chain and fingerprint lights — two reds, one yellow, repeat — and let them spot mistakes. Have them dictate a short gift message while you write it on the back of the wrapped craft.
Other ways to play it
- Nature version: swap cotton balls for crumpled tissue paper and use pinecones as paint stampers outdoors.
- Card-making version: turn the reindeer, tree, and snowman into folded cards for family and neighbors. The reindeer card version works beautifully as handprint reindeer cards for family and neighbors.
- Quiet version: skip paint entirely and use stickers, crayons, and tissue paper for a calm morning session.
How it changes by age
- Ages 3–4: expect short bursts of focus, lots of glue, and crafts that look wonderfully abstract. Pre-cut everything, sit beside them, and praise effort over neatness.
- Ages 4–5: most can thread chains, peel stickers solo, and follow the red-green pattern with a reminder. Let them lead the display choices and the gift pick.
- Adapting down: toddlers under 3 can join for cotton-ball sticking and fingerprint dots with close help, but skip small pom-poms and googly eyes for mouthing children.
What they're learning
Fine motor strength: peeling, pinching, threading, and pressing build the hand control early writing needs. Patterns and counting: repeating colors in the garland and counting cotton balls grow early math in a natural way. Following a sequence: setup, make, display, tidy — a full project arc they can retell step by step. Generosity: choosing and wrapping a craft for someone else practices thinking about other people's feelings.
Clearing up
Put lids on while paints are still wet, soak brushes and trays in warm soapy water, and shake the mat outside before folding it away. Older siblings who finish early can move on to Christmas crafts for kids while the preschooler displays their own work. Store leftover cut shapes in a labeled envelope so the next session starts in minutes. Hang any still-damp pieces on the display string rather than stacking them, so nothing sticks together overnight.
Questions parents ask
What are the easiest Christmas crafts for preschoolers?
What supplies do I need for preschool Christmas crafts?
How do I keep Christmas crafting with preschoolers from getting too messy?
At what age can children do Christmas crafts?
How long should a preschool Christmas craft session last?

save it for later
Pin this for the next rainy afternoon
Keep it on a board so it is there when you need it, rather than when you happened to find it.
Save to Pinterest
