


Letter Matching Games for Preschoolers You Can Make in Minutes
DIY letter matching games for preschoolers ages 3–4 — make card pairs, memory flip, clothespin clips and puzzle pieces in minutes, then play ten teaching rounds from first match to letter sounds. Ten teaching steps take you from blank cards to confident matching — card pairs, a memory flip, clothespin clips, puzzle pieces and a room-wide scavenger hunt.
Make DIY letter matching games in minutes: write matching letter pairs on card stock, then play ten teaching rounds — open sorting, a memory flip, clothespin clip matches, puzzle halves, a scavenger hunt and a sound round. Use letter names first and introduce sounds later. Best for ages 3–4, starting with three to five visually distinct letters.

The short version
- 3–5 starter letters (name letters first, plus distinct shapes like O, S, M, T, A).
- 10 teaching steps: make the cards together, then play rounds with rising challenge.
- Letter names in steps 1–7; letter sounds get their own clearly-flagged round in step 8.
- Clothespin clipping and puzzle halves add fine-motor work and uppercase–lowercase matching.
- 20–30 minutes total; stop while they're winning and save the game for tomorrow.
- Age
- Ages 3–4
- Prep
- 5 min
- Mess
- None
- Difficulty
- Easy
- Where
- Indoor
Why kids love this
Matching feels like a mystery that always has an answer. Flipping a card and finding its twin is a small victory every time — and this session raises the stakes just as each game starts feeling easy: new cards, new rules, then the whole room becomes the game board.
What you'll need
- Card stock or cut-up cereal boxes (about 20 card-size pieces, roughly 3 x 4 inches)
- A thick marker (you do all the writing — see step 2)
- Dot stickers or small star stickers
- 5–10 wooden clothespins
- A small basket or bowl
- Masking tape
- A kitchen timer or phone timer
- A zip bag or envelope to store the finished game
Before you start
Cut the card stock into playing-card-size pieces — about 20 for one session. Pick 3–5 starter letters: begin with the letters in your child's name (nothing motivates like your own name), then add two or three with very distinct shapes — O, S, M, T and A are easy to tell apart. Save look-alike pairs (b/d, p/q) and rhyming letter names (m/n, c/t) for later sessions. Sit side by side so your child sees your hands at work.
How to do it
-
Letter matching games are one of the fastest routes to letter recognition — and you can make a full set at the kitchen table in minutes, no printer needed. Matching turns abstract symbols into a game of pairs: this shape finds its twin. You build the cards together, play rounds that grow steadily harder, and finish with a save-the-game ritual. One rule: use letter names in steps 1–7 — sounds get their own round in step 8.
-
Follow the steps in order — make the games together first, then play with rising challenge. Each step covers setup, what to say, and what your child does.
-
Which letters should your preschooler start matching? (steps 1–2)
-
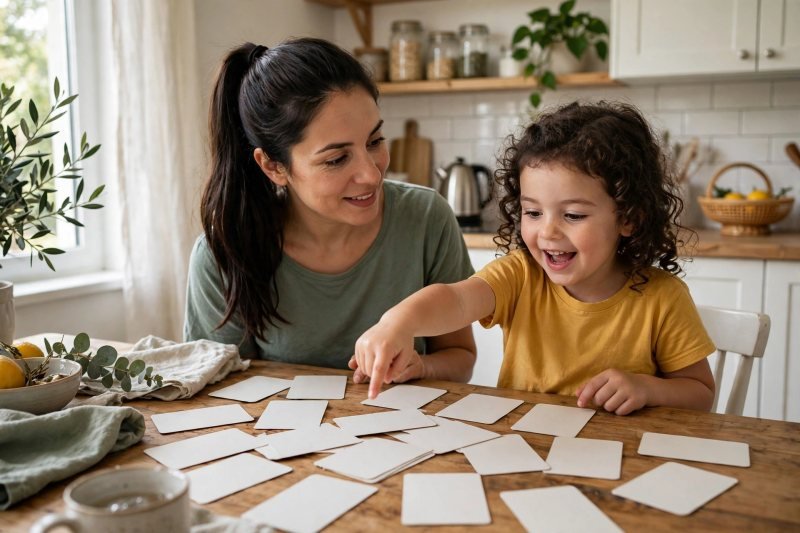
1. Choose the session's letters together. Spread the blank cards across the table. Say: "We're making a matching game today. Which letters should go in it?" Guide your child toward their name's letters first, then two or three more. If they can't name letters yet, let them pick any four and you name each one. Choosing builds ownership, and ownership builds attention. Bridge: "Lovely choices — now let's turn these blanks into pairs."
-
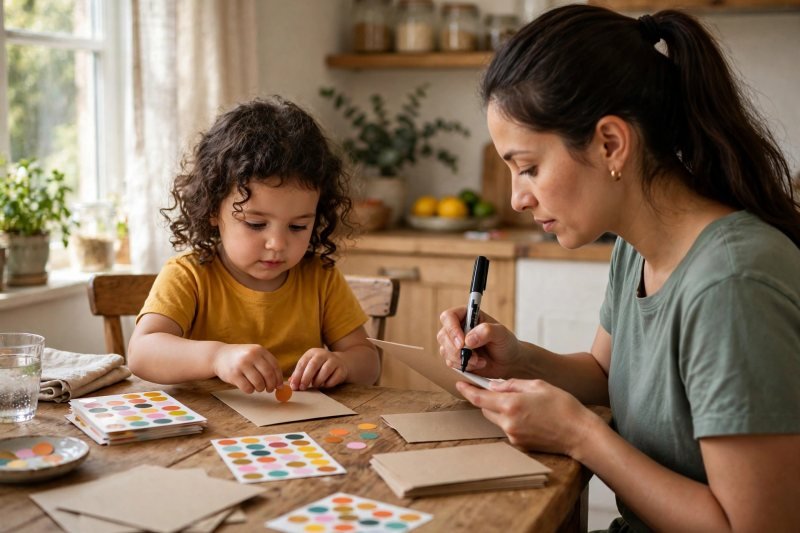
2. Make the card pairs — you write, they decorate. The marker stays in your hand; the sticker sheet goes to your child. Say: "I write each letter on two cards — they have to match exactly, so the letters are my job. The backs are your job." As you write each letter, say its name once: "This is A — A gets two cards." Your child decorates the BACKS with dot stickers — uniform backs are essential for the memory game in step 4, and the job gives them real ownership. Count the finished pairs together. Bridge: "All pairs ready — time to play."
-
How do you teach a 3-year-old to match letters? (steps 3–4)
-
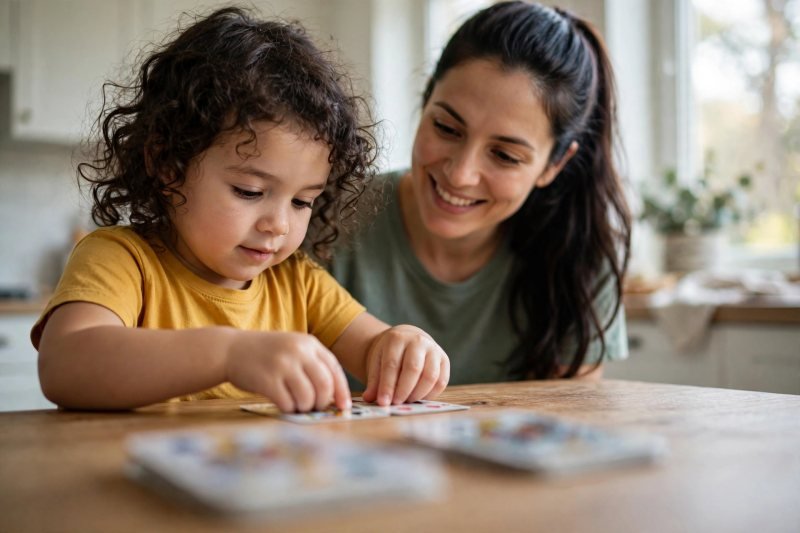
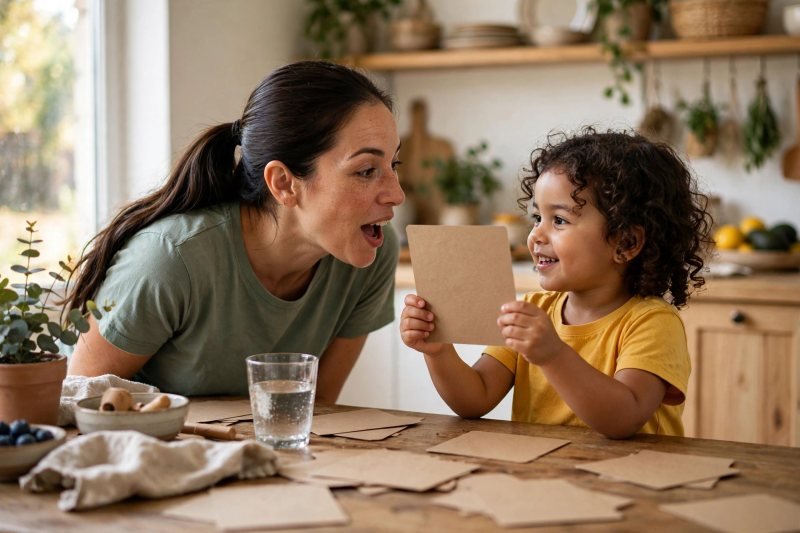
3. Round one: open sorting — everything face up. Spread all cards face up. Model it: pick up one card, say its name — "This A is looking for its A friend. Can you find it?" — and let your child hunt the twin. The point is pure visual matching: same shape finds same shape. Have your child name each letter as they finish a pair — saying it cements it more than hearing you. Wrong card? Stay sunny: "Close! That's M — where's the other M?" Bridge: "All matched! Too easy — let's make it trickier."
-
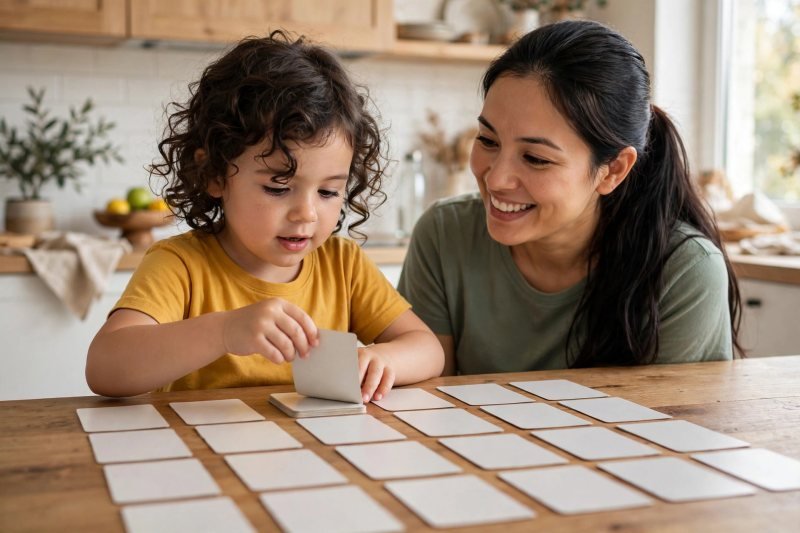
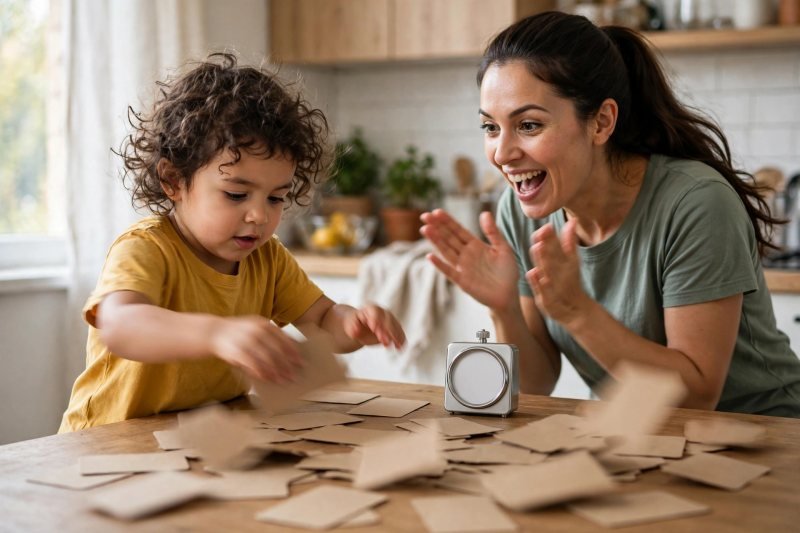
4. Round two: memory flip. Flip every card face down into rows. Say: "Now the pairs are hiding. Flip one… M! Remember where it is. Flip another… S — not a match, flip them back." Take turns, letting your child flip both picks. Model losing gracefully: "Wrong ones! Flip them back — you remembered better than me." Each found pair goes in a pile in front of your child — a visible score of their progress. Bridge: "You're too good at this. Time for a brand-new game."
-
What letter matching games build fine motor skills? (steps 5–6)
-
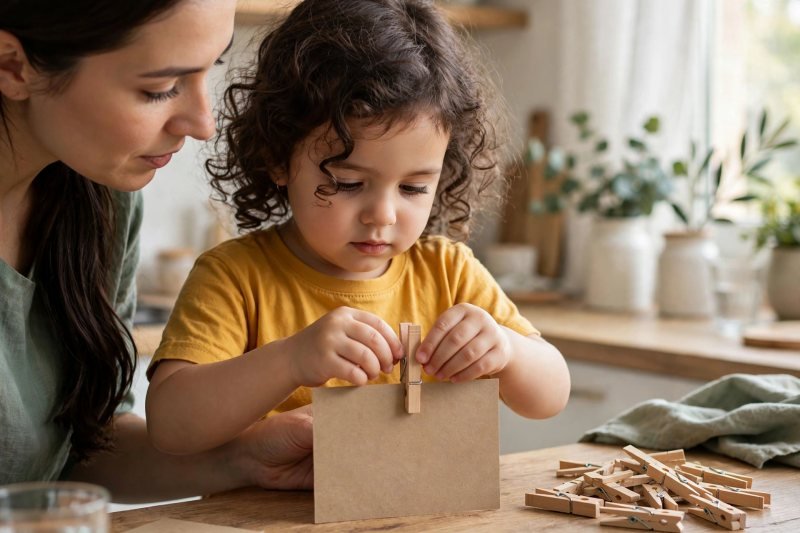
5. Clothespin clips: big letters meet little letters. Write lowercase letters on 5–10 clothespins (your job — neat letters only); lay the uppercase cards face up. Say: "Big A is on the card. Little a is on the pin — clip little a onto big A!" Your child squeezes each pin open and clips it to its match — real hand-strength work for the muscles writing needs. Name each letter as you clip. If squeezing is too hard, pinch pins open and closed together first as a warm-up. Bridge: "What if the letters snapped in half?"
-
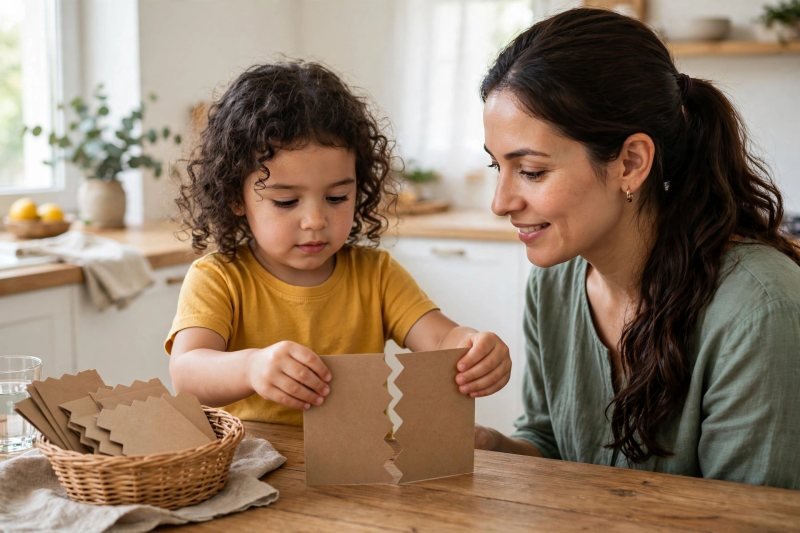
6. Puzzle pieces: match the halves. Make 4–5 new pairs — one card uppercase, one lowercase — cut down the middle with a wavy line (each pair's wave slightly different) so only true halves fit together. Mix them in the basket. Say: "These letters snapped in half! Which two fit back together?" Your child assembles each letter by matching the shape and feeling the wavy edge click — self-correcting, so wrong guesses fix themselves without you saying a word. The quiet lesson: letters come in two forms, big and little — same letter. Bridge: "Sitting still is over — the letters are going to hide."
-
How can you make letter matching games more active? (step 7)
-
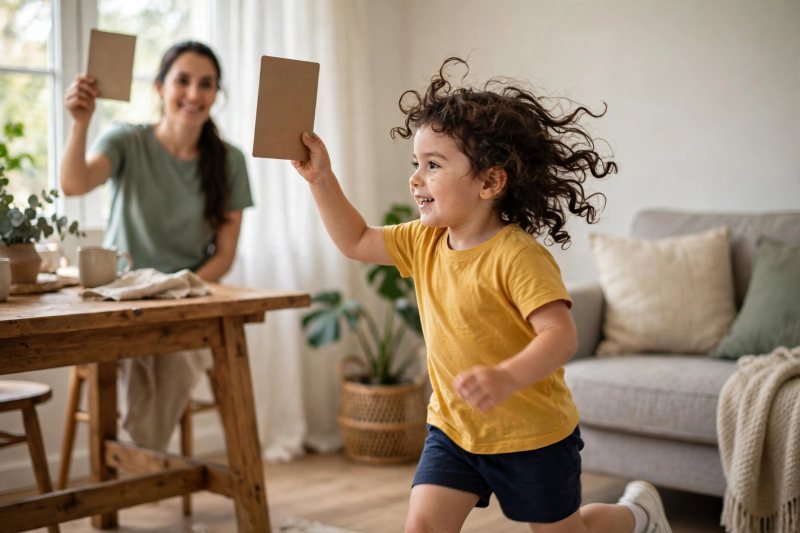
7. Scavenger match: hide and find. While your child covers their eyes and counts to ten, hide one full set of cards around the living room — in easy sight lines: on cushions, against chair legs, tucked in a shoe. Keep the matching set face up on the table. Say: "Hunters! Find a hidden card, bring it to its table twin, and tell it its name!" Running, finding, matching, naming — big movement resets flagging attention like nothing else. Let them hide the last two cards while you hunt. Bridge: "Now the biggest challenge: no names allowed."
-
Should preschoolers learn letter names or sounds first? (step 8)
-
8. Sound round: match by what the letter SAYS. Gather the cards face up. Announce the rule switch — this is where names and sounds get separated: "New rule — no letter NAMES this round. We only say what they SOUND like. S says sss. Find the letter that says sss!" Model it first: you say a sound, your child finds the card and stretches the sound with you. Start with continuous sounds (s, m, f, l, r) — far easier than stop sounds (b, t, p). Keep look-alikes out of this round. Bridge: "One last round — and this one's fast."
-
How do you finish a letter game so kids want more? (steps 9–10)
-
9. Beat-the-timer relay. Scatter all pairs face up; set a visible timer for one to two minutes. Say: "How many pairs can we match before it dings?" Your child matches as fast as they can while you count aloud — speed adds thrill, not stress, as long as the tone stays playful. If a timer makes your child anxious, use a song instead: "Can we match them all before I finish humming?" For younger 3s, sort instead of racing: "All the As live here — letter families!" Stop while they're winning — always. Bridge: "That was brilliant. Time for the champion ceremony."
-
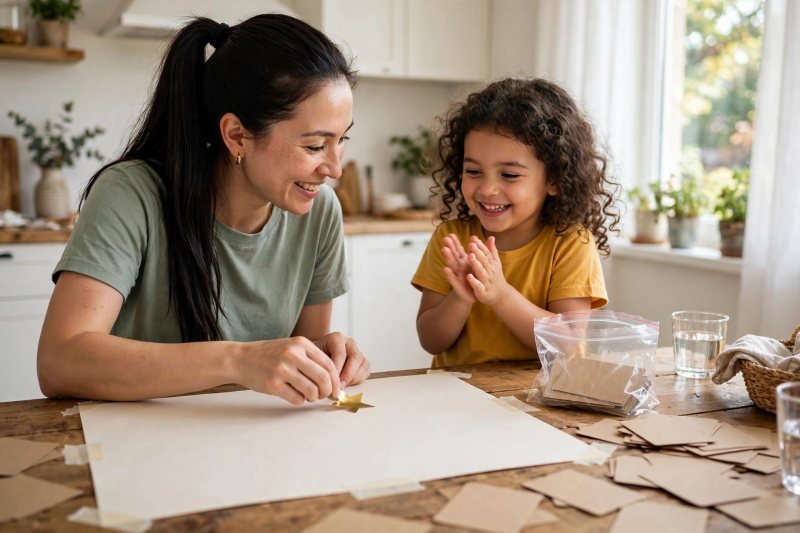
10. Champion finish: star chart and save the game. Tape one big paper to the table. Say: "Which game was your favorite today?" Your child chooses — memory flip, clothespins, the scavenger hunt — and sticks a star on the chart for each one they loved. Then tidy the cards into the zip bag together: "Our letter games live here. Tomorrow we add two new letters." The ceremony turns cleanup into part of the game. Note which letters they matched confidently and which wobbled — that's tomorrow's starting point.


Make it easier
Start with two or three pairs — a six-card game still teaches matching. Play side by side, narrating as you go. Skip steps 5–6 the first time; add them next session.
Make it harder
Add two new letters each session; retire the ones matched instantly. Older 4s can play memory with eight pairs, or race you — "you flip two, I flip two." Ask them to explain: "How did you know that was a match?"
Other ways to play it
- Name-train finale: spell your child's name with the cards after the games.
- Bath-time match: write letters on foam shapes; the wet tub wall is a free game board.
- Sibling relay: older siblings hide the cards (step 7) and call the sounds (step 8).
- Outdoor chalk match: chalk big letters on the path, toss beanbags onto the named twin.
How it changes by age
- Younger 3s: 3 pairs — steps 1–4 plus the scavenger hunt. Ten brilliant minutes; let them decorate, flip and hunt while you do most of the naming.
- Older 4s: all ten steps, uppercase-to-lowercase from the start, and explain their matches in step 9. If they're inventing their own rules, they're learning.
What they're learning
Visual discrimination and letter recognition (steps 1–4); uppercase–lowercase correspondence (steps 5–6); letter names vs letter sounds, kept deliberately separate (steps 3–8); working memory (step 4); fine-motor strength from pinching and clipping (steps 2, 5); gross-motor energy and spatial searching (step 7); turn-taking and graceful losing (steps 4, 9) — plus the pride of a game they helped build.
Clearing up
Tidy-up is built into step 10 — the zip bag ritual takes two minutes. Sticker backings go in the bin; stray stickers peel off with a damp cloth. Marker on the table? Hand sanitizer on a cloth lifts it.
Questions parents ask
What age should children start letter matching games?
Should my preschooler learn letter names or letter sounds first?
How many letters should a 3-year-old match at once?
What if my child mixes up similar letters like b and d?
Steps 1–7 make a complete first session; 8–10 slot into tomorrow. The card set lives in its zip bag — add two new letters each replay, and within a month your child will have matched most of the alphabet. Replay beats new games: familiarity turns matching into remembering.
Keep reading: - Alphabet activities for toddlers (link to https://brightplaydays.com/activities/alphabet-activities-for-toddlers/) — simple letter play to warm up before matching - Phonics activities for preschoolers (link to https://brightplaydays.com/activities/phonics-activities-for-preschoolers/) — add sounds to the letters you're matching - Letter tracing worksheets for pre-K (link to https://brightplaydays.com/activities/letter-tracing-worksheets-prek/) — the natural next step once matching feels easy


