


Kids Summer Sandals: How to Choose Comfortable Pairs for Active Play
Kids summer sandals chosen by fit, not looks: a simple at-home fitting routine that checks length, width, sole flex, straps, grip, and comfort through real walking, running, and jumping — so the pair you keep supports a whole summer of active play.
Choose kids summer sandals by fit checks, not looks: trace both feet standing, allow about a thumb's width beyond the longest toe, confirm a wide uncramped toe box, bend the sole at the ball of the foot, require two adjustable straps, textured tread, and a heel that stays seated through walking, running, jumping, and sudden stops.

The short version
- Fit to the larger foot, standing, later in the day — and record the tracing measurements.
- Length rule: about a thumb's width of space past the longest toe; toes never press or overhang.
- The sole should flex at the ball of the foot and resist twisting through the arch.
- Two adjustable, smooth-edged straps beat one; your child should manage the closures.
- Always run a real play test — running, jumping, stopping, climbing — before deciding.
- Judge water life honestly: quick drying, wet grip, and straps that hold when soaked.
- Age
- Ages 4–5
- Prep
- 10 min
- Play time
- 30 min
- Mess
- Low
- Difficulty
- Easy
- Where
- Indoor
Why kids love this
Children love sandals they forget they are wearing. A pair that fits well lets a four- or five-year-old sprint for the sprinkler, climb the low steps at the playground, pedal, dig, and dance without stopping to shake out a pebble or rub a sore spot. When kids help with the fitting — pressing the toe box, bending the sole, doing the running test themselves — they take pride in "their" sandals and are far more likely to put them on without a morning negotiation.
What you'll need
- Two or three candidate pairs of sandals in the size you think your child wears, plus one half or full size up if available
- A flat mat or large sheet of plain paper and a washable marker for tracing feet
- A ruler or tape measure (for your notes only — your thumb works in the store)
- The thin summer socks your child sometimes wears, if any
- A small towel for drying wet feet after a water-play test
- A hallway or path with room for walking, turning, and a few jumps
- A notebook or phone note for recording which pair passed which check
Before you start
1. Fit in the afternoon when you can: feet are at their everyday size later in the day, not first thing in the morning. 2. Trace both feet on paper while your child stands with full weight on them — always fit to the larger foot. 3. Lay out the candidate pairs, the mat, and your notes in a clear hallway space so the walking test has a straight runway. 4. Agree the rule with your child before you start: "We keep the pair your feet choose, not the pair with the coolest color."
How to do it
-
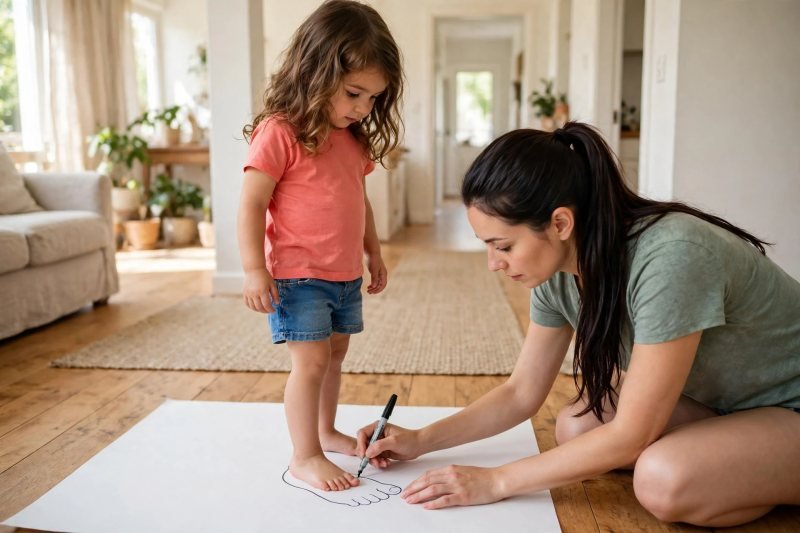
Set up a fitting station and trace both feet first. Kids summer sandals fit best when you start with the foot, not the shoe: lay the plain paper on a hard floor, have your child stand tall on it in bare feet, and trace snugly around each foot with the marker; then measure from heel to the longest toe on each tracing and write the two numbers in your notes. Say: "Your feet are the bosses today. The sandals have to fit them, not the other way around." Children stand differently than they sit, so never size from a seated foot, and always plan to fit the larger of the two feet — most children have one. Tracings done, bring out the first candidate pair.
-
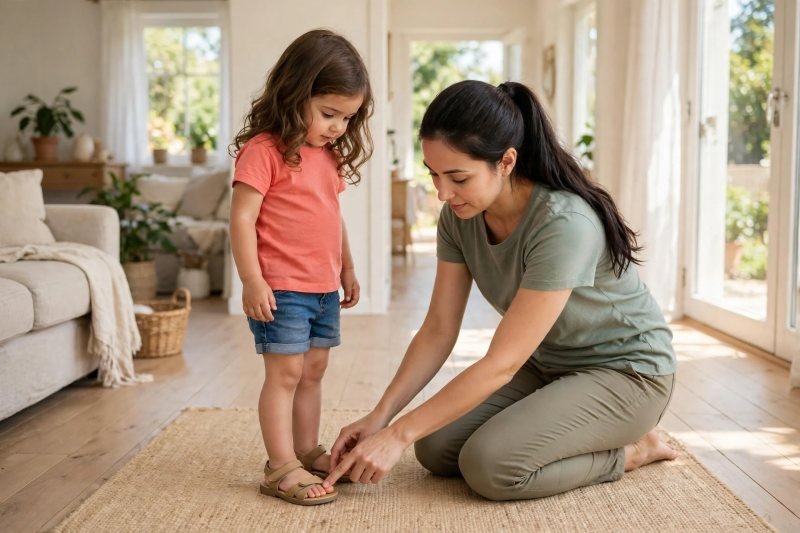
Check the length with standing room to grow. Slip the first pair on, fasten every strap the way your child will wear it, and have your child stand with full weight before you judge anything; then press your thumb gently across the front of the toe box — you want roughly a thumb's width of space between the longest toe and the end of the sandal, enough for feet to spread and grow through the season, not so much that the foot slides forward. Say: "Wiggle your toes like they're waving. Can they all wave?" Toes that press the front edge or hang over it end the trial for that pair, however cute it is. Length settled, check how the foot sits across the width.
-
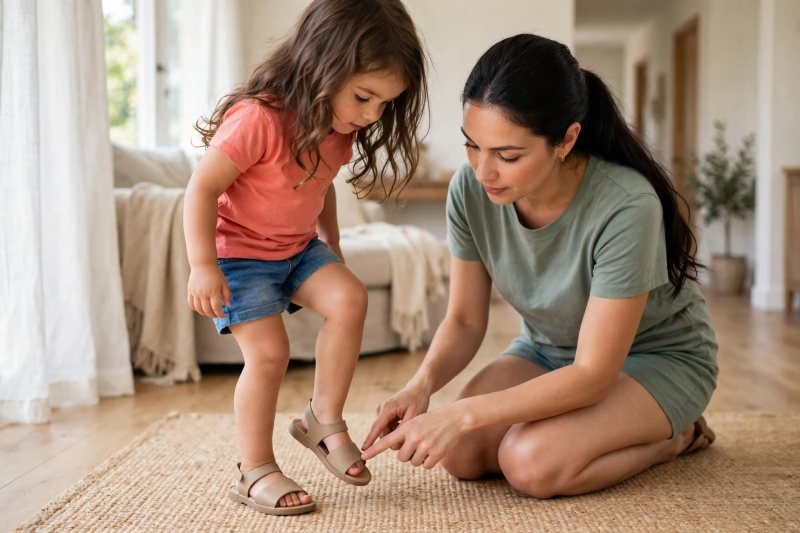
Check the width and the toe box shape. A comfortable sandal lets the foot lie flat and natural: look for a toe box wide enough that the toes are not squeezed together or overlapping, edges that do not bulge over the sides of the footbed, and straps that cross the foot without digging in or leaving deep marks after a minute of standing. Have your child rise up on tiptoes and come down again; the foot should stay centered in the sandal rather than spilling sideways. Say: "Do your feet feel hugged or squished? Hugged is good." Squished, pinched, or bulging means try the next width or size — width problems never break in, they only rub. Width approved, test how the sole moves.
-
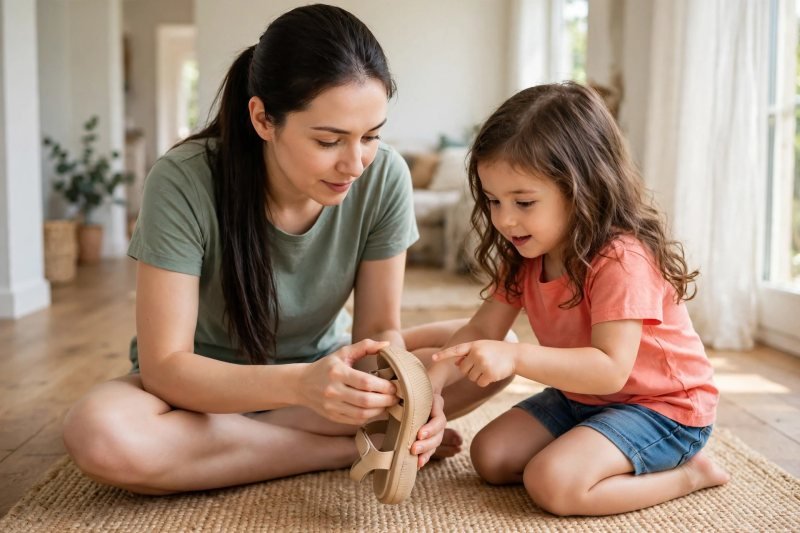
Bend the sole and check where it flexes. Pick the sandal up and bend it with both hands: a good everyday pair for this age flexes at the ball of the foot — where a foot naturally bends — rather than folding in the middle of the arch or refusing to bend at all. Twist it gently, too; a sole that twists like a wrung towel offers little support on uneven playground ground, while one that resists a gentle twist holds its shape. Then press the heel area: the back of the sandal should feel firm enough to cup the heel instead of collapsing under your thumb. Say to your child: "Shoes should bend where your foot bends." Sole checked, move to the straps that hold everything in place.
-
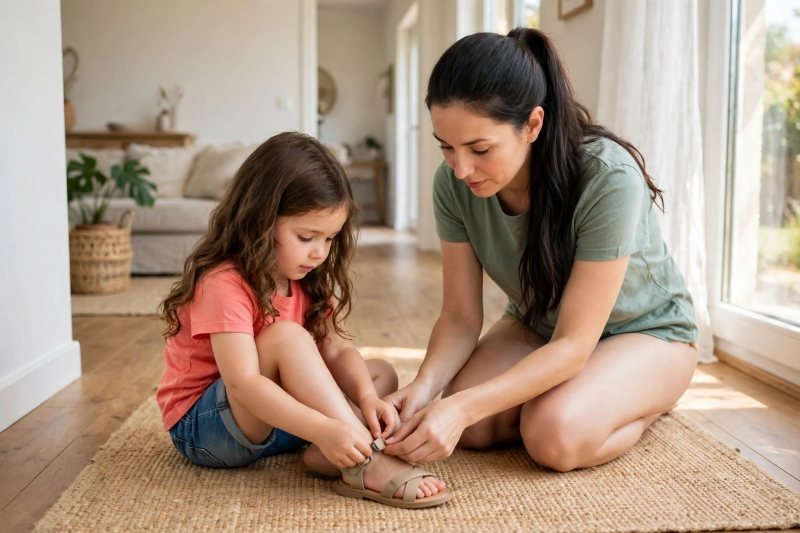
Fasten every strap and judge the closures honestly. Straps are the difference between a sandal and a flip-flop with ambitions: look for at least two points of adjustment — ideally at the toes or forefoot and around the ankle — so the fit can change as feet grow and swell on hot days; check that straps are padded or smooth-edged where they cross skin, and that buckles, hook-and-loop tabs, or snaps open and close without pinching. Let your child work the closures: fastening a buckle or tab is exactly the kind of everyday practice these fine motor activities for preschoolers build toward, and a closure your child can manage alone is a closure that gets used properly. Say: "Your job is straps. Show me you can make them snug, not tight." Straps working, look underneath at the tread.
-
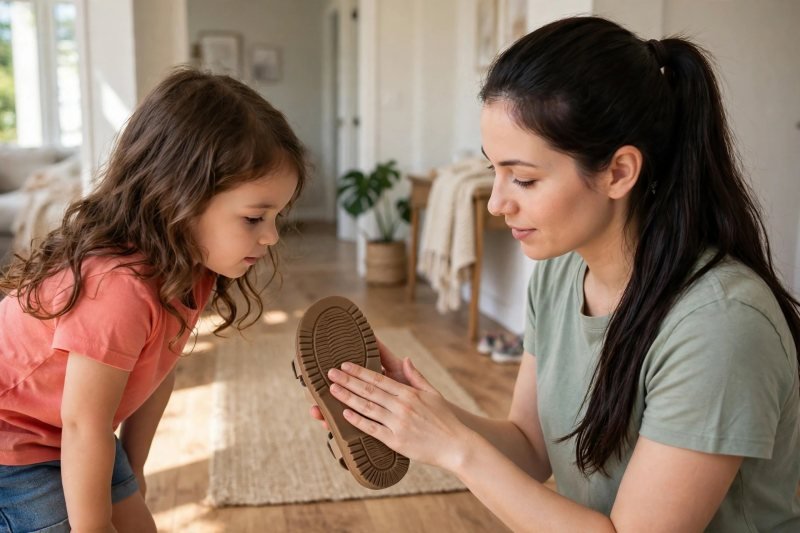
Turn the pair over and read the tread and footbed. Flip each sandal over before anyone walks in it: you want a tread pattern with real texture — grooves or lugs that give grip on wet pool decks, smooth playground plastic, and dusty paths — not a flat, shiny underside that skates. Back on top, look at the footbed: a slightly contoured surface that cradles the heel and supports the arch gently suits active days better than a board-flat slab, and materials that feel smooth rather than sticky against bare skin will rub less over a long afternoon. Run your palm across the inside of every strap and seam; anything that scratches your hand will scratch a small foot by lunchtime. Say: "Rough underneath for gripping, smooth on top for feet." Underneath approved, it is time to walk.
-
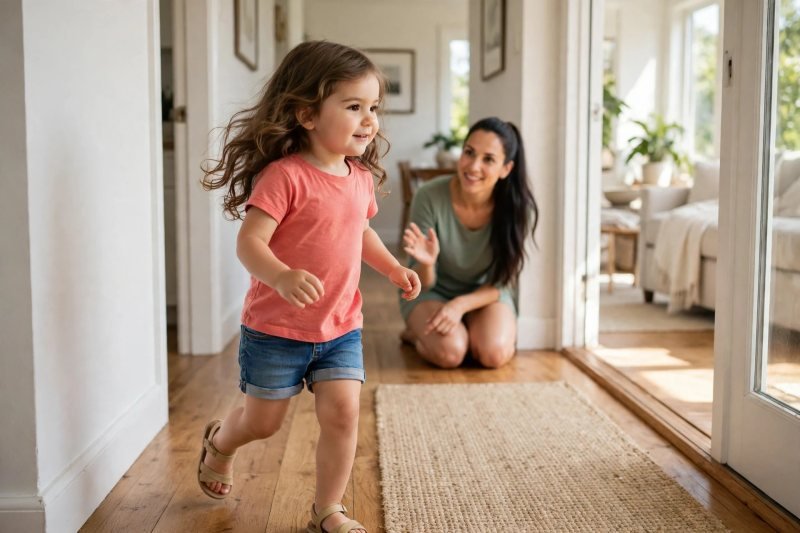
Run the hallway walk test at three speeds. Send your child down the hallway three ways: a slow walk, a normal walk, and a brisk "hurry, the ice cream truck" walk, turning at the end each time; watch from behind, because the truth of a fit shows at the heel — the heel should stay seated in the heel cup with each step instead of lifting out and slapping back down, and the toes should not claw or grip the footbed to keep the sandal on. Listen, too: a well-fitted pair is relatively quiet, while constant slapping or shuffling means the foot is working to hold the shoe instead of playing. Say: "Walk like you're going somewhere important." Walking passed, raise the stakes to real play.
-
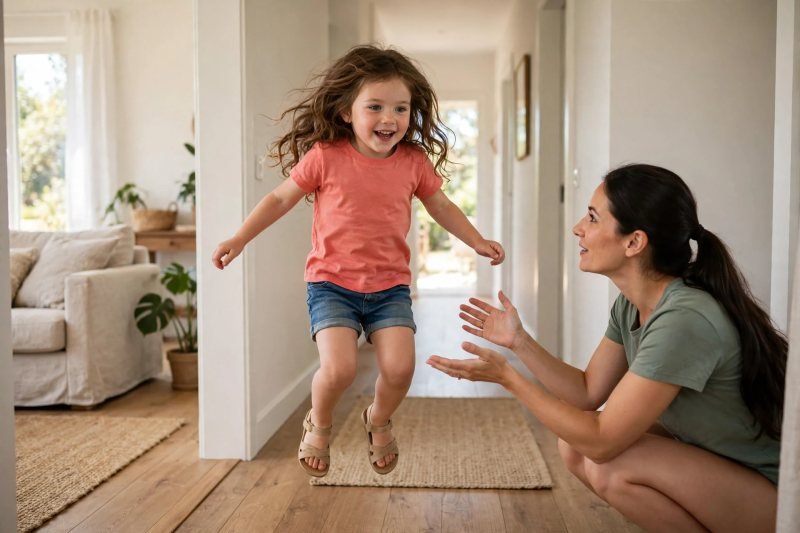
Put the finalists through a genuine play test. Walking is the interview; play is the job. Have your child run a short loop, jump with both feet, stop suddenly, climb a step or low curb, and crouch down to pick something up — the movements that fill a summer day — the same running, jumping, and climbing in these children's summer activities — in each finalist pair, and watch for the same tells: heels lifting, toes gripping, straps slipping, or the sandal twisting under the foot on turns. Ask directly after each pair: "If we went to the park right now, would your feet be happy in these the whole time?" Children's comfort reports at this age are blunt and reliable; a wince or a "they feel funny" outranks any feature list. One pair usually wins this round clearly. Play test done, consider how the pair handles water and heat.
-
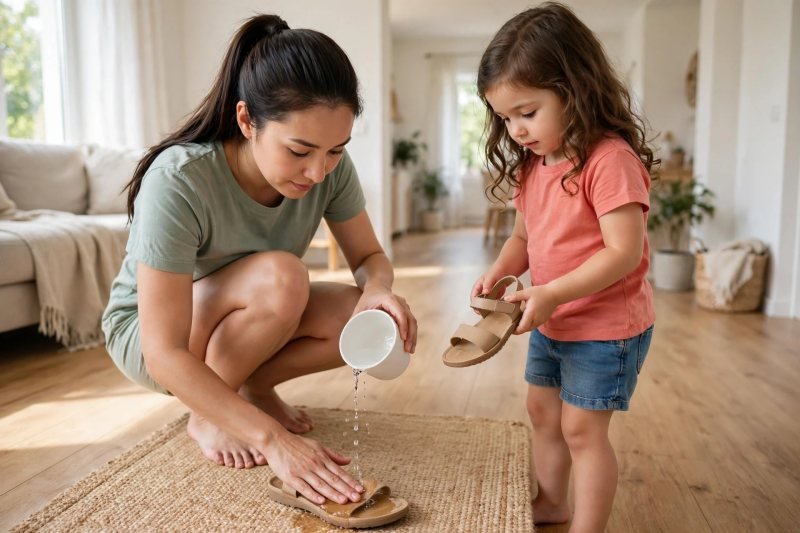
Check water, sand, and hot-day practicality. Summer sandals live a wet, gritty life, so judge the finalists on the life they will actually lead: a good active-play pair drains or dries quickly after sprinkler and splash-pad water play rather than staying soggy for hours; straps should still fasten securely when wet; and the footbed should not turn slippery when damp — test by sprinkling a little water on the footbed and pressing your palm down and sideways. Think about sand, too: open designs shed sand easily at the beach but invite pebbles at the playground, while more closed toes protect against stubs and scooter scrapes. Say: "These have to survive sprinklers AND the park." Practicality judged, make the final call together.
-
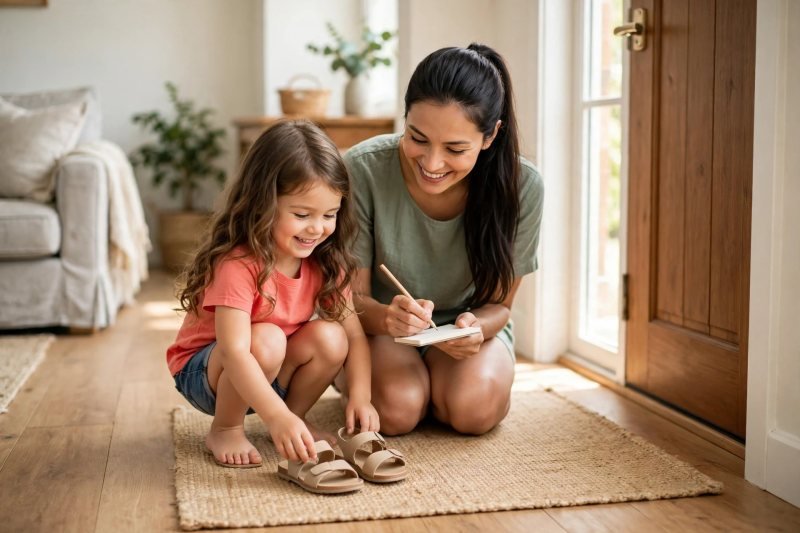
Choose the pair, log the fit, and set the rotation. Make the decision at the table with your notes: the winning pair is the one that passed length, width, flex, straps, tread, walking, and play — not the prettiest, and not the one that "will probably be fine." Write the size, the date, and which checks it passed in your notes, because that record makes the next fitting — and hand-me-down decisions for siblings — much faster. Set the new pair by the door as the default summer shoe — the anchor piece of your child's kids summer outfits rotation — and move last year's pair on; when the weather turns, the same fit-first thinking guides the cold-season swap in these preschool winter outfits ideas. Say: "Your feet chose these. Now let's go use them." Fitting complete — summer can start.


Make it easier
Only one pair in budget or in stock? Run the same checks on that pair alone — length, width, flex, straps, tread, walking, play — and keep or return it by the results, the criteria-first approach set out in how we choose products. Wiggly fitter: turn the checks into a game ("wiggle-waving toes," "ice-cream-truck walk") and fit one pair per sitting, finalists only on day two. In-store shortcut: trace and measure at home, bring the tracings, and place them inside candidate sandals — the outline shows length and width before anyone tries anything on.
Make it harder
Keep a summer fit log: re-trace feet monthly and note growth — older preschoolers love charting "how much my feet grew this summer." Let your child run the checklist on your sandals too, explaining each test back to you — teaching the criteria cements their own body awareness. Plan a two-pair rotation (playground pair plus water pair) and let your child assign each pair its job using the criteria from this guide.
Other ways to play it
- Toddler sibling version: for younger children, prioritize closed toes, a firm heel cup, and closures adults control — then introduce self-fastening as skills grow, the same seasonal logic used in these toddler winter outfits for ages 2–3.
- Water-first summer: if most days are splash pads and pools, weight the water checks highest — quick drying, wet grip, straps that hold when soaked.
- Trail-first summer: for nature camps and hikes on gentle paths, weight tread, heel hold, and toe protection highest, and re-run the play test on grass and gravel.
How it changes by age
- Ages 2–3: fit is adult-led and protection-first — closed toes, secure heel, minimal sliding; expect faster outgrowth and re-check fit every few weeks of the season.
- Ages 4–5: the guide as written — children join the fitting, work simple closures themselves, and give blunt, trustworthy comfort reports during the play test.
- Ages 6–8: add style negotiation within the criteria ("any color that passes all seven checks") and let children keep their own fit log for the season.
- All ages: never buy up more than one size for growth in an open sandal — oversized sandals trip, twist, and rub far more than shoes do.
What they're learning
Body awareness: children learn to notice and report pressure, rubbing, and slipping — interoception skills that protect their feet all day. Measurement thinking: tracing, comparing lengths, and recording results is early math with a purpose a child can feel. Independent dressing: managing buckles and tabs during real fittings builds the hand strength and sequencing behind self-dressing. Decision-making by criteria: "the pair that passes the checks wins" teaches evidence-based choosing over impulse — a life skill in miniature.
Clearing up
Fitting day tidies in minutes: return rejected pairs to their boxes or the returns bag straightaway (pairs left out become dress-up and muddy the record), wipe the winning pair's footbeds with a damp cloth after the outdoor test, file the foot tracings and fit notes with the shoes by the door, and toss the marker-stained test paper. The mat rolls away; summer footwear is officially sorted.
Questions parents ask
How much growing room should kids summer sandals have?
Are open-toe or closed-toe sandals better for active play?
How can I tell if a sandal sole is supportive enough?
Why do my child's sandals keep slipping off when running?
How often should I check sandal fit during the summer?

save it for later
Pin this for the next rainy afternoon
Keep it on a board so it is there when you need it, rather than when you happened to find it.
Save to Pinterest


