


Bean in a Bag: Watch Seeds Sprout for Preschoolers
A no-mess seed-germination experiment: sprout dried beans in a zip bag taped to a sunny window and watch roots and shoots appear day by day. Tape a damp bag of beans to a sunny window and watch the whole life cycle unfold — no soil, no pots, no waiting weeks.
Growing beans in a bag is a classic preschool seed experiment: dampen a paper towel, tuck in 2-3 soaked beans, seal the bag, and tape it to a sunny window. In 2-3 days the seed coats split and roots appear; by day 5-7 a pale shoot pushes up. Check daily with your child, draw what you see, then transplant the seedling. Use lima, broad or mung beans — never raw kidney beans.

The short version
- - Damp paper towel + zip bag + sunny window = a no-soil greenhouse where preschoolers watch germination in plain view.
- - Soak beans 2-4 hours; wring the towel damp, not dripping; seal the bag; tape it bean-side-in on the window.
- - Seed coat splits around day 2, roots and shoot by days 3-5, transplant-ready seedling around days 7-10.
- - Daily observation plus a simple drawing journal turns the wait into the learning.
- - Observe, don't eat — no raw kidney beans; bags away from young children; wash hands after handling.
- Age
- Ages 3–4
- Prep
- 10 min
- Mess
- None
- Difficulty
- Easy
- Where
- Indoor
Why kids love this
Growing beans in a bag hands preschoolers a mystery they can check every morning. One day the bag holds nothing but a plain bean on a damp towel. Then, almost overnight, a tiny white tail appears — and a day later that tail has forked into roots reaching down while a pale shoot pushes up. Seeds that normally sprout hidden in soil do their growing in plain view, flattened against clear plastic. Three- and four-year-olds love the daily ritual of rushing to the window, noses pressed to the bag, announcing each change. It is real science they can see, and it belongs to them.
What you'll need
- - 2-3 dried lima beans, broad beans, or mung beans (dried beans from a grocery packet — do NOT use raw kidney beans, which are toxic unless cooked)
- - 1 quart-size clear zip-top bag
- - 2 paper towels
- - Small bowl of water
- - Masking tape or painter's tape
- - A sunny window
- - Optional: magnifying glass, crayons and paper for observation drawings
Before you start
Soak 2-3 dried beans in room-temperature water for 2-4 hours (or overnight) before you start — this wakes the seed up and speeds everything along. Pick a window with good daylight, morning sun if you have it, and make sure the glass is clean enough to see through. Keep zip bags out of reach of younger siblings — plastic bags are not toys for very young children.
How to do it
-
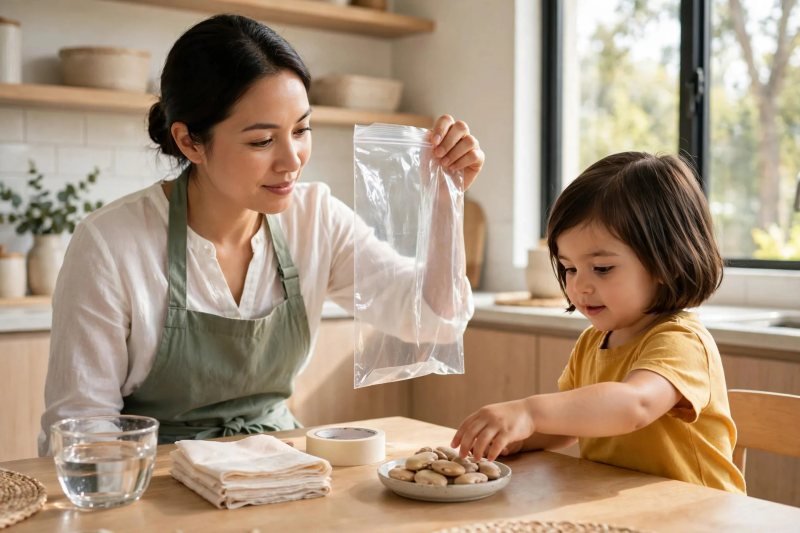
1. **Gather the materials.** Set the bag, towels, soaked beans, water and tape on the table. Tell your child a seed is a tiny packet with a baby plant sleeping inside, waiting for water, warmth and light.
-
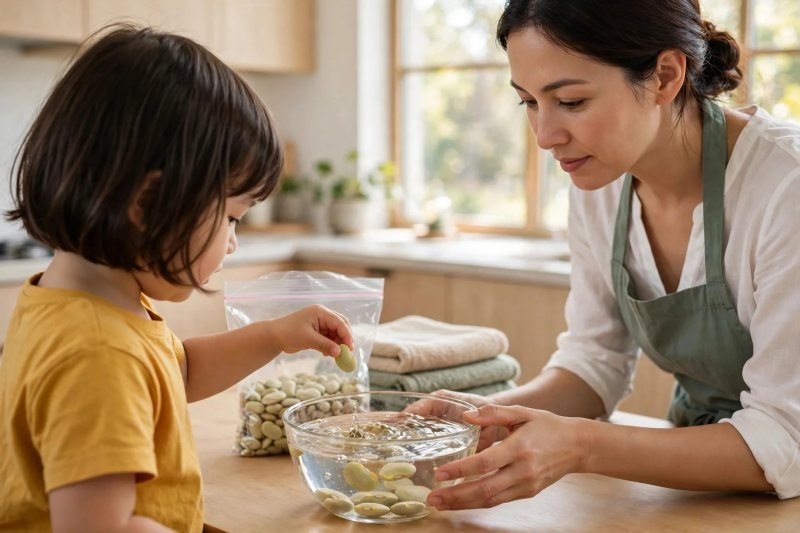
2. **Soak the beans briefly.** If you skipped pre-soaking, drop the beans in a small bowl of water for at least 2 hours. Watch them swell and wrinkle — the seed coat drinking in water is germination's first step.
-
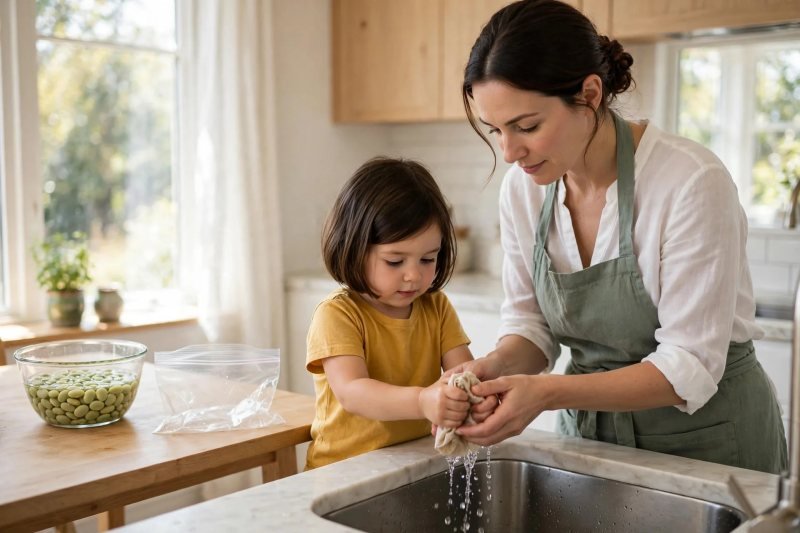
3. **Dampen the paper towel.** Fold one towel to fit the bag, dip it in water, then wring it out well. It should feel like a wrung-out sponge — thoroughly damp, not dripping.
-
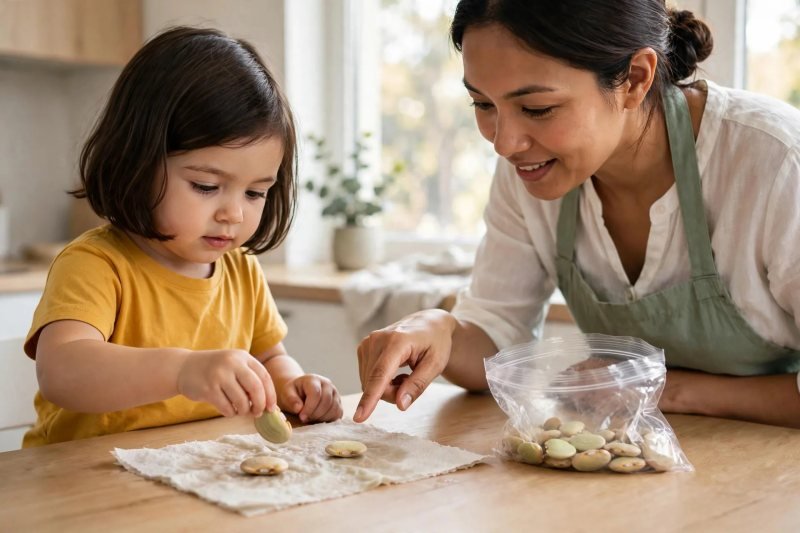
4. **Place the beans on the towel inside the bag.** Lay the damp towel flat, set 2-3 beans on its lower half with a finger-width between them, fold the towel over the beans, and slide the whole thing into the bag. The beans should sit snug against the towel, near the bottom.
-
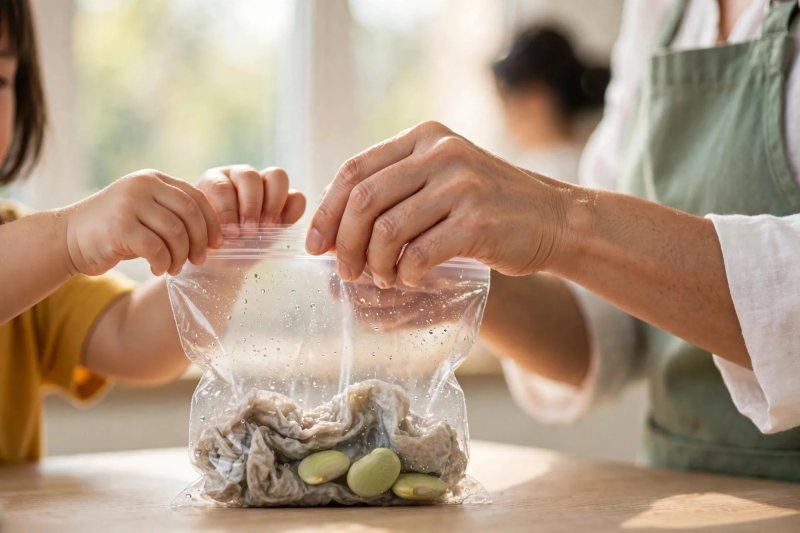
5. **Seal the bag.** Press the zip-top shut, pushing out most of the air as you close it. The sealed bag traps moisture — a tiny greenhouse that keeps the towel damp.
-
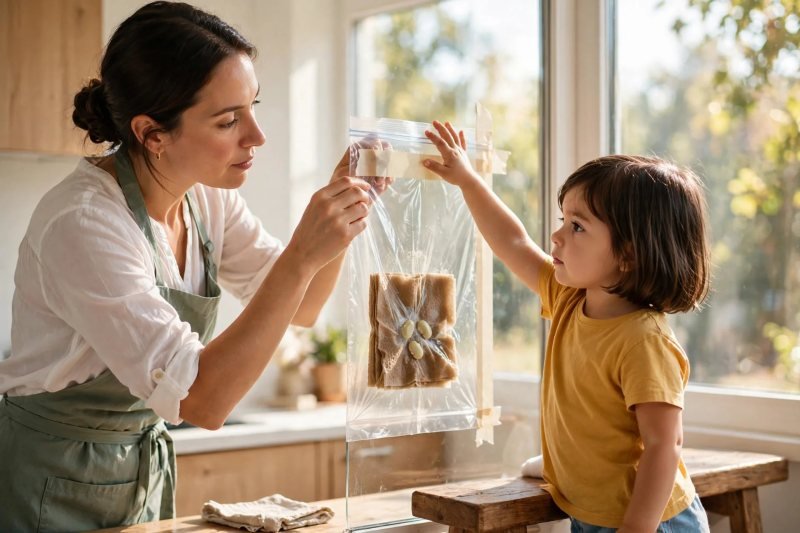
6. **Tape the bag to a sunny window.** Tape all four edges to the inside of the window, beans facing inward so you can watch them. Tape it low enough for your child to see, and avoid glass that gets scorching hot in the afternoon.
-
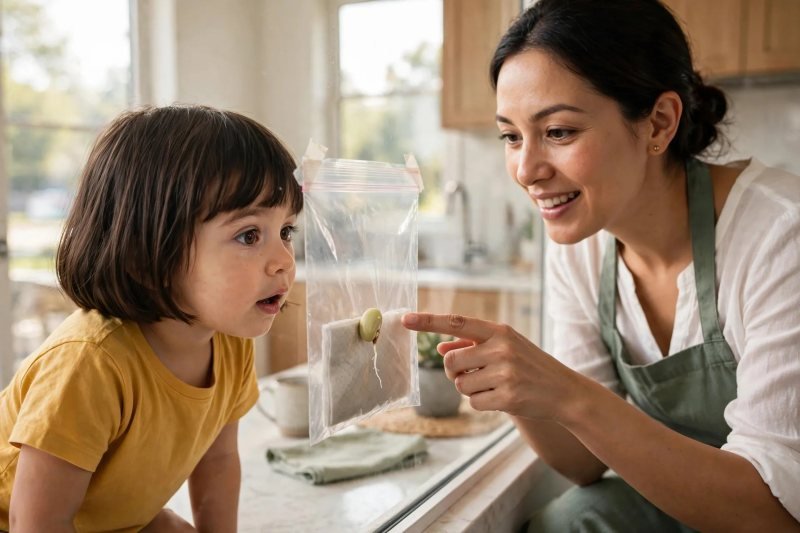
7. **Observe days 1-2 — what to look for.** Check the bag together each morning. At first nothing changes, and that is normal — say so out loud. By day 2 the seed coat may split with a tiny white nub pushing out. That is the root, and it always grows downward first.
-
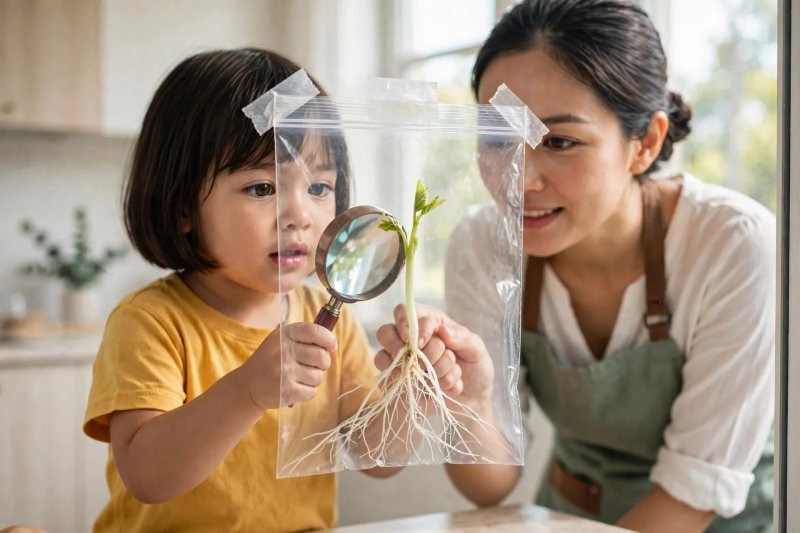
8. **Watch the sprout and roots grow (days 3-5).** The root forks into hair-thin side roots reaching down; a pale shoot with a folded pair of leaves pushes up toward the light. A magnifying glass turns the fine root hairs into something magical. Notice how the root knows down and the shoot knows up, even sideways in a bag.
-
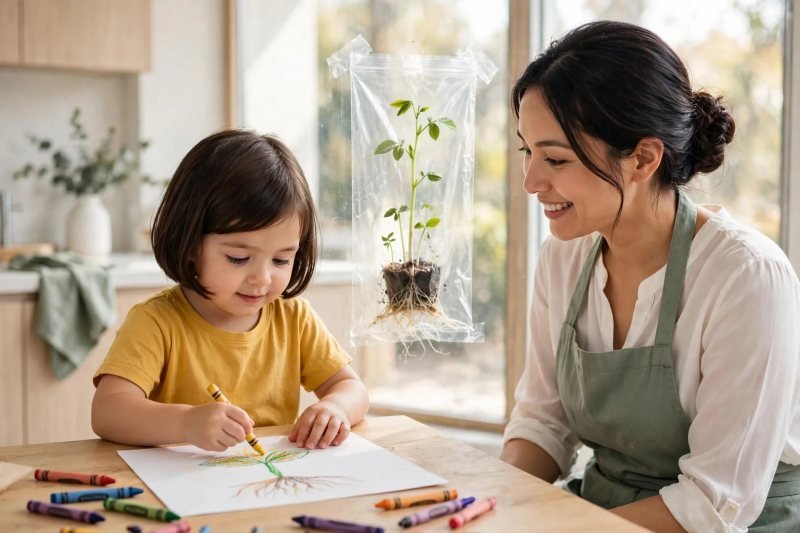
9. **Draw daily observations.** Invite your child to draw the bean exactly as it looks each day and date each drawing — a real scientist's journal. Comparing day 2's drawing with day 5's makes the growth unmistakable.
-
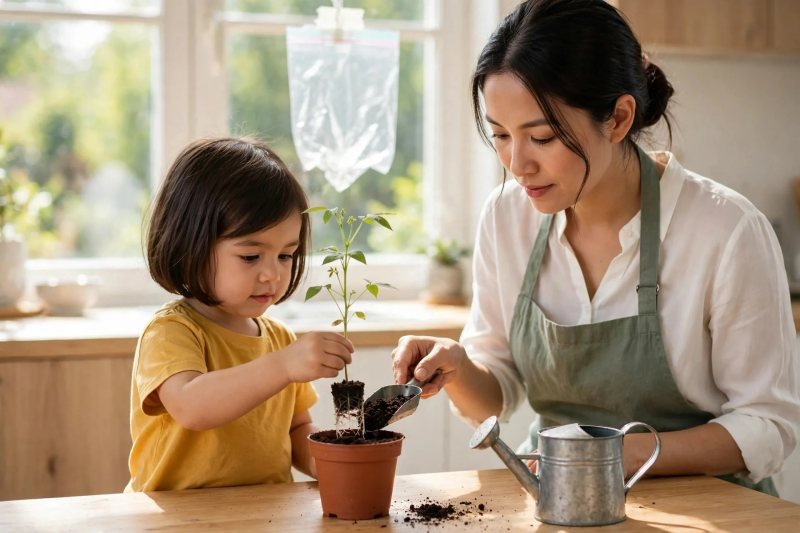
10. **Transplant the seedling into soil.** Once the sprout is 2-3 inches tall with visible roots (around day 7-10), fill a small pot with potting soil, poke a finger-deep hole, settle the seedling in root-down, cover gently, and water. Keep it on the windowsill and water when the top of the soil feels dry.


Make it easier
- Use one bean so there is a single clear hero to watch. Dampen the towel yourself and let your child only place the beans and seal the bag. Skip the journal for 3-year-olds — just talk about the changes together each morning.
Make it harder
- Ask your child to predict what the bean will look like tomorrow, then check — real hypothesis practice. Older 4s can measure the root and shoot with a ruler each day and build a simple growth chart.
Other ways to play it
- - **Try different seeds.** Bag up lima beans, mung beans and sunflower seeds and race them — which sprouts first? Label each bag with a sticker.
- - **Bag vs cup comparison.** Run the window bag alongside a bean in damp cotton wool in a clear cup. Which method shows the roots better after a week?
- - **Light vs dark experiment.** Tape one bag to the sunny window and one inside a cupboard (check it daily). Do seeds need light to sprout, or just to grow green? The answer surprises most preschoolers.
How it changes by age
- - Adult-led for 3-4-year-olds. Three-year-olds can place beans, seal the bag with help, and do the daily looking and talking. Four-year-olds can dampen the towel, tape the bag, keep the drawing journal, and lead the comparison experiments. Keep younger siblings away from the plastic bag and loose beans.
What they're learning
- Life science in its purest form: seeds are living things with predictable needs (water, warmth, light) and a growth sequence — root first, shoot second. - Daily observation builds patience and attention to detail; drawing what they see is early scientific recording. Comparing bags introduces the idea of a fair test. - Naming what they notice grows vocabulary: root, shoot, sprout, seed coat, seedling. - If your child loves watching living things change, our [butterfly life cycle activity](/activities/butterfly-life-cycle-preschoolers/) stretches that observation over several weeks. More hands-on experiments live in our [science hub](/learn/science).
Clearing up
Almost nothing to clear up. Used paper towels and bags go in the trash (or rinse and reuse the bag). Wipe the windowsill if condensation left a mark.


