


Name Tracing Worksheets for Preschool: A Free Printable Approach for Ages 3–4
How to make and use name tracing worksheets for preschoolers (ages 3–4): build the sheets freehand, follow the finger to crayon to pencil progression, and add practice games that make name writing joyful. Your child's own name is the most motivating word they'll ever write — make simple name tracing worksheets at home and guide your preschooler finger-to-crayon-to-pencil.
Name tracing worksheets work best when you make them yourself: write your preschooler's name large with dotted guide letters underneath, then follow the finger to crayon to pencil progression, saying each letter aloud as they trace. Five-to-ten-minute daily sessions build confident name writers in weeks.

The short version
- A child's own name is the most motivating first word — start there, before any other letter practice.
- Make sheets freehand: large letters, capital first letter with lowercase rest, wide letter spacing.
- Follow the progression: finger tracing, then chunky crayon, then beginner pencil — never rush to the pencil.
- Say each letter aloud while tracing to link the symbol, the name, and the hand movement.
- Five to ten minutes daily beats one long weekly session; fade the dots as confidence grows.
- Age
- Ages 3–4
- Prep
- 5 min
- Mess
- None
- Difficulty
- Easy
- Where
- Indoor
Why kids love this
Nothing fascinates a preschooler like their own name — it's on their cubby, their lunchbox, their birthday cake. Tracing it feels like unlocking a secret: "That's MINE. I can make that." That ownership keeps them coming back to the table.
What you'll need
- Plain white paper, a thick black marker, a highlighter or pale grey pen, short chunky crayons in several colours, a chunky beginner pencil, and a folder to keep finished sheets.
Before you start
Write your child's name once on a scrap to lock in your letter sizes — big letters, capital first letter, lowercase for the rest (how names appear in the real world). Sit together at a table, paper angled slightly toward their dominant hand. Five calm minutes of setup saves twenty minutes of wiggles.
How to do it
-
Work the steps in order — each builds on the last, from making the sheet to writing the name from memory. One or two steps per session is plenty; a tired hand learns nothing.
-
Make the worksheets (steps 1–2)
-
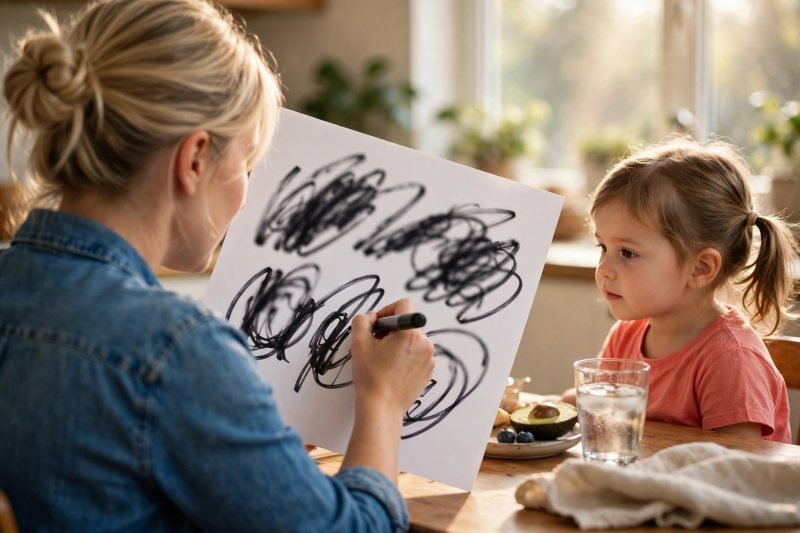
1. Build the first sheet together. Sit side by side and write your child's name LARGE across the top half of the page with the thick marker — capital first letter, lowercase rest. Underneath, write the same name in pale dotted letters for tracing, with generous space between letters. As you write, say each letter aloud: "M… A… X… Max! Look — YOUR name on the page." Let your child point to each letter and "read" it with you. Names first, everything else later.
-
- Bridge: Before any tool touches the page, the finger learns the path.
-
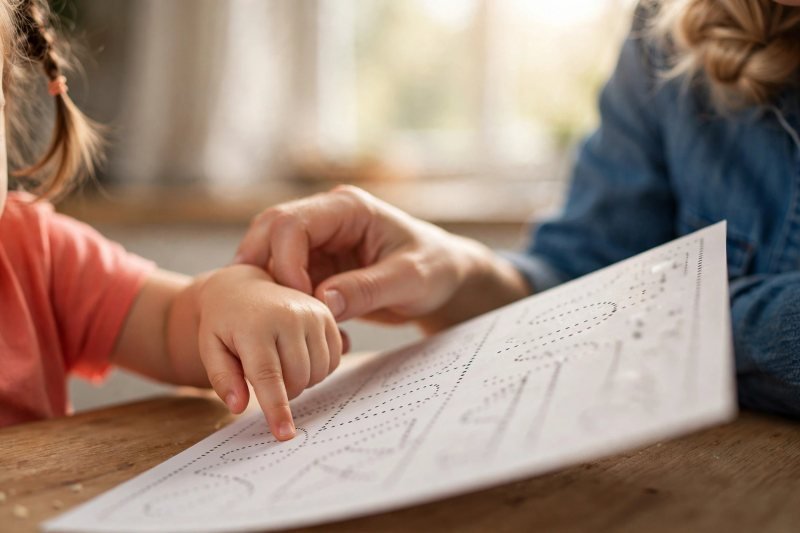
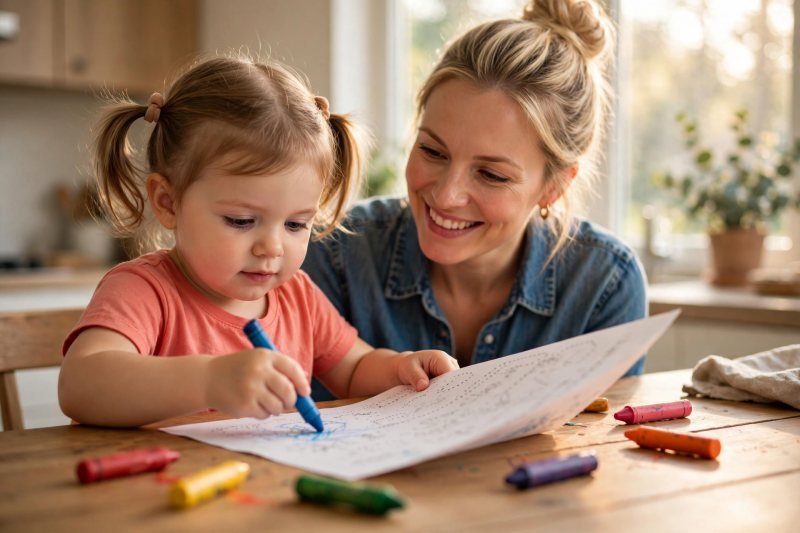
2. Trace with a finger first. Have your child drag their pointer finger slowly along the dotted letters, left to right, all the way through the name. You go first — big and slow — saying each letter's sound ("mmm" for M), then they copy. Repeat twice. Fingertips build motor memory for letter shapes without the added work of gripping anything, and fingers forgive wobbles.
-
- Bridge: Once the finger knows the way, give the hand a tool to hold.
-
The tracing progression (steps 3–6)

-
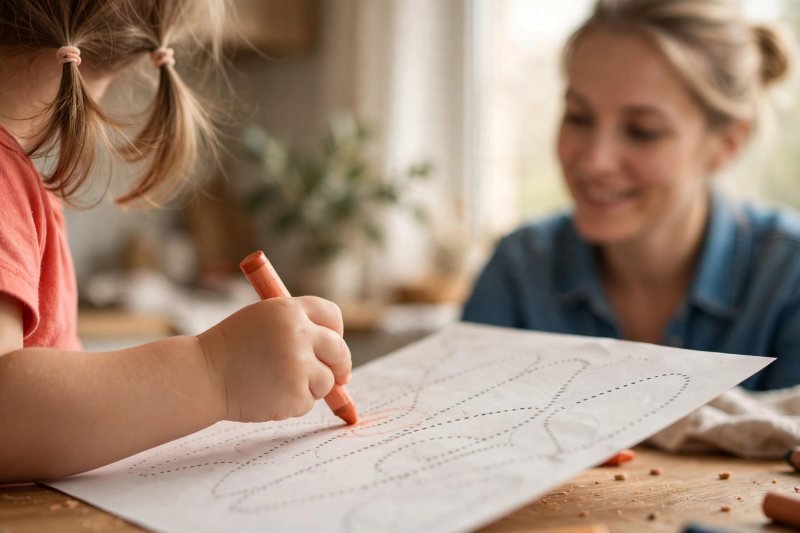
3. Crayon before pencil — grip comes gradually. Hand them a short, chunky crayon (short crayons discourage fist grips without any nagging about fingers). Say: "Pinch it like you're feeding a baby bird — gentle!" Then trace the dotted name slowly. Expect wobbly lines — celebrate them: "Look how far your crayon travelled!" Grip develops over months, not minutes, so praise effort.

-
- Bridge: Now wire the letters into the brain with sound.
-
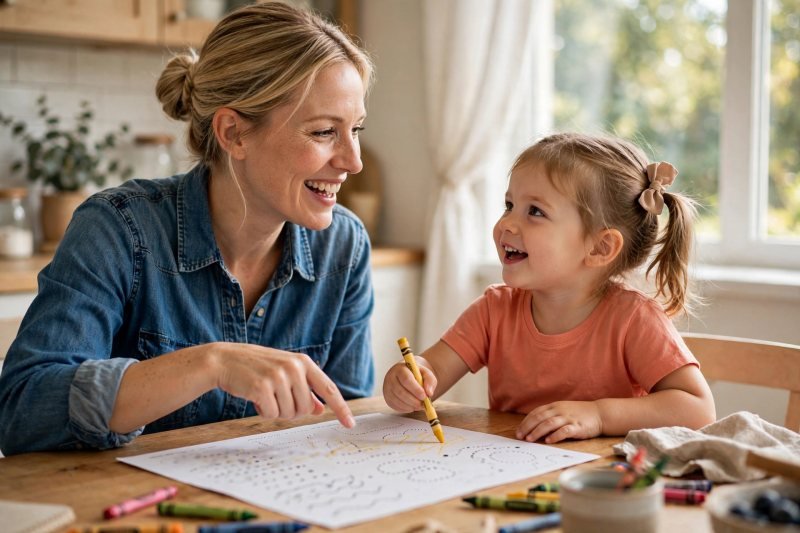
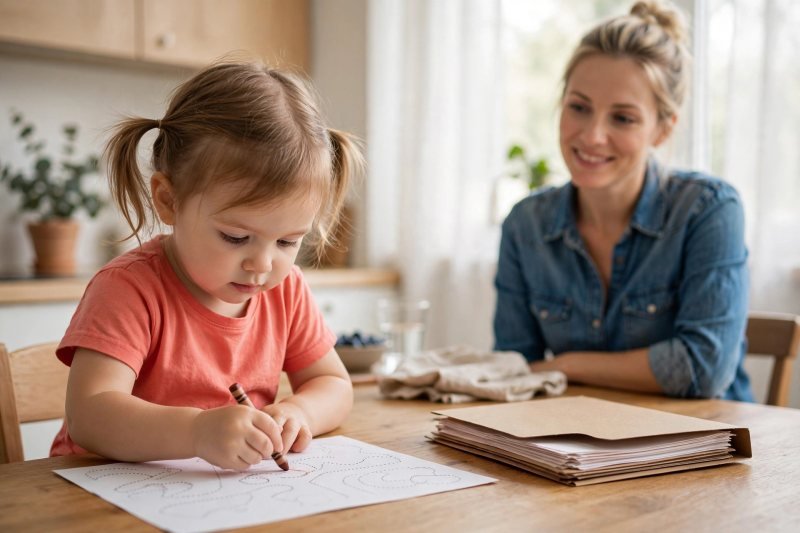
4. Say each letter aloud while tracing. This time your child names each letter as the crayon moves: "M! A! X!" You model it first: "My turn to talk, your turn to drive." Saying the names while the hand forms the shapes links symbol, name, and movement — three memories for the price of one. If they forget a name mid-trace, supply it warmly and keep the crayon moving; stopping to drill kills the flow.

-
- Bridge: Repetition makes it stick — but repetition should feel like play.
-
5. Rainbow-trace the same name. Keep the same sheet, hand them a new colour: "Trace it in blue — same name, new colour!" Two or three colour laps turn practice into a rainbow name, and each lap smooths the lines a little more. Let them choose the colours; ownership keeps the crayon moving.
-
- Bridge: When the crayon path is confident, introduce the grown-up tool.
-
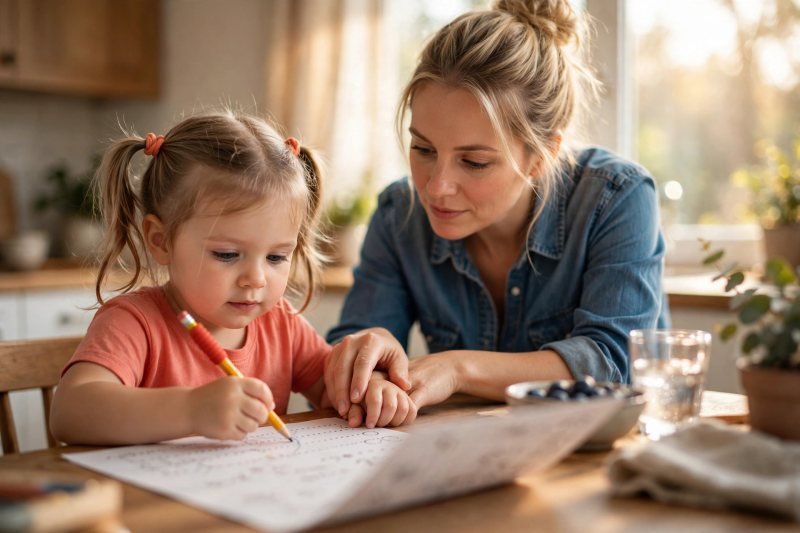
6. Graduate to the chunky pencil. Switch to the beginner pencil on a fresh sheet: "Like a crayon, only thinner — and mistakes erase right off." Trace the name once together, your hand lightly over theirs if they want help. If they ask to go back to crayons, let them — the pencil will be there tomorrow.
-
- Bridge: Tools mastered, turn practice into games.
-
Practice games and independence (steps 7–10)
-
7. Play tracing games. Trace and guess: you trace one letter of their name slowly on their back with your finger; they guess the letter, then trace it on the sheet to check. The missing letter: cover one dotted letter with a sticky note; your child names the hidden letter, then traces it from memory. Games sneak in extra repetitions without a single "do it again."
-
- Bridge: Every artist needs a gallery.
-
8. Display the sheets and celebrate. Tape their favourite traced sheet to the fridge at their eye level and invite them to pick "the best letter" — they'll study the page with genuine pride. Say: "You made every one of those letters. That's real writing." Visible, celebrated work is the strongest motivation loop there is.
-
- Bridge: One great session becomes a habit with a tiny daily rhythm.
-
9. Make it a five-minute morning ritual. Same time each day — after breakfast works beautifully — one fresh sheet, five to ten minutes, no more. Keep a folder of finished sheets so your child can flip back and see the lines getting smoother; progress they can see beats progress you describe. Short daily practice beats one long weekend session.
-
- Bridge: Watch for the moment the dots become training wheels.
-
10. Fade the dots toward independent writing. When tracing feels easy — straighter lines, no hesitation — make the next level: fainter dots, then only a starting dot per letter, then blank lines with a name card beside the page. One day they'll write it with no guide at all. End every session before they're tired, while writing still feels like their idea.


Make it easier
Start with just the first letter of their name — one big dotted letter is a complete first session. Trace with a finger for a whole week before introducing the crayon. Rest the paper on a slightly tilted surface (a binder works) to help the wrist.
Make it harder
Add their last name once the first name flows. Try the name with dots removed entirely, or have them "teach" a stuffed animal by tracing while the toy "watches." Older 4s can trace a sibling's or pet's name.
Other ways to play it
- Texture sheets: trace the dotted name in a shallow tray of salt before moving to paper.
- Sidewalk edition: draw the dotted name huge in chalk outside; trace with a wet paintbrush.
- Name puzzle: cut a traced sheet into one strip per letter; they order the strips, then trace a fresh sheet.
How it changes by age
- Younger 3s: stay at steps 1–3 for several weeks — finger and crayon tracing with big, widely spaced letters, five-minute sessions.
- Older 4s: move through the full progression and try step 10's fading dots; they'll often ask for harder sheets themselves.
What they're learning
Fine motor control and hand strength (steps 2–6); letter recognition and letter names (steps 1, 4, 7); left-to-right directionality (steps 2–6); the spoken-to-written language connection (steps 4, 7); persistence and pride (steps 8–10).
Clearing up
Two-minute tidy-up: finished sheets into the folder, crayons back in the box. Keep a dedicated "writing tray" with paper, crayons and the pencil so setup is instant tomorrow.
Questions parents ask
How do I make name tracing worksheets for preschoolers at home?
What age should kids start tracing their name?
Should preschoolers trace in capital or lowercase letters?
How can I help my child hold the crayon correctly when tracing?
What comes after name tracing worksheets?
If your child resists, the sheet is too hard — drop back one step (usually to finger tracing) and stay there longer. Never force their grip; a relaxed hand on a short crayon finds its own way. For more writing practice beyond names, try our letter tracing worksheets for pre-K (link to https://brightplaydays.com/activities/letter-tracing-worksheets-prek/) and these fine motor activities for preschoolers (link to https://brightplaydays.com/activities/fine-motor-activities-for-preschoolers/).


