


Scissor Skills Activities for Preschoolers: 20 Fun Cutting Ideas
These scissor skills activities for preschoolers follow the real cutting progression for ages 3–4: snipping playdough, fringing paper, then straight lines, curves and shapes. Includes the thumbs-up grip, left-handed tips, safety rules and 20 cutting ideas from supplies you already own.
The best scissor skills activities for preschoolers follow a simple progression: snipping playdough, fringing paper strips, cutting thick straight lines, then zigzags, curves, spirals and simple shapes. Start with child-safe scissors, teach the thumbs-up grip, always supervise, and turn cuttings into crafts like paper chains, straw-bead necklaces and shape collages. Keep sessions to 10–15 minutes for ages 3–4.

The short version
- Progression: snip, fringe, straight lines, curves, shapes, crafts.
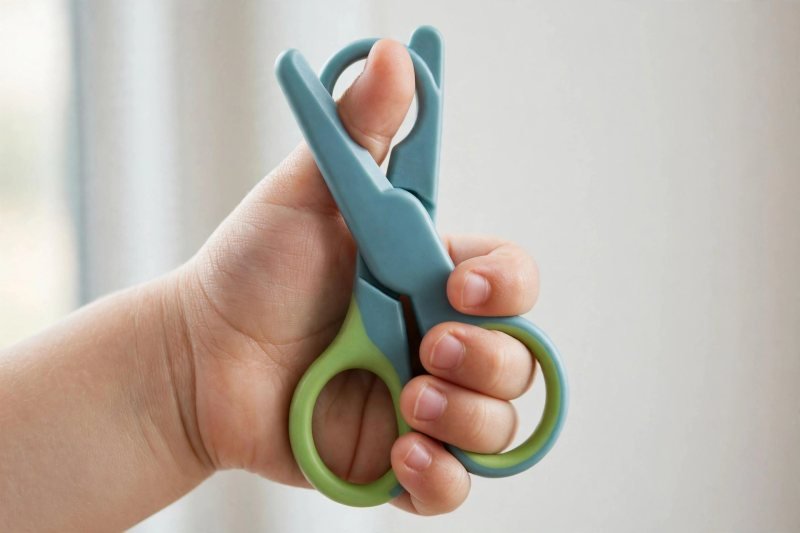
- Thumbs-up grip: thumb in the small top hole, pointing to the sky.
- Card stock is easier than thin paper because it holds still.
- Always supervise; scissors stay closed and put away when not in use.
- Left-handed children do best with true left-handed scissors.
- Age
- Ages 3–4
- Prep
- 5 min
- Play time
- 15 min
- Mess
- Low
- Difficulty
- Easy
- Where
- Indoor
Why kids love this
Scissors feel like a grown-up tool, and preschoolers know it. That first successful snip — cutting something in half all by themselves — lights up their whole face. Every idea here turns practice into making: confetti for a pretend party, a lion with a fringed mane, beads from cut straws. Children happily repeat these short activities.
What you'll need
- Child-safe scissors with blunt tips and spring-assisted handles sized for small hands; construction paper or card stock; playdough; drinking straws; scrap paper and old coupons; a paper plate; glue stick; crayons; tape; a small tray for cuttings. Card stock beats thin printer paper at first — it holds still and is easier to control.
Before you start
Sit where your child has elbow room on the scissor side. Hold the scissors yourself first and show the closed blades — the first rule: closed scissors are safe scissors. Set out one activity at a time.
How to do it
-
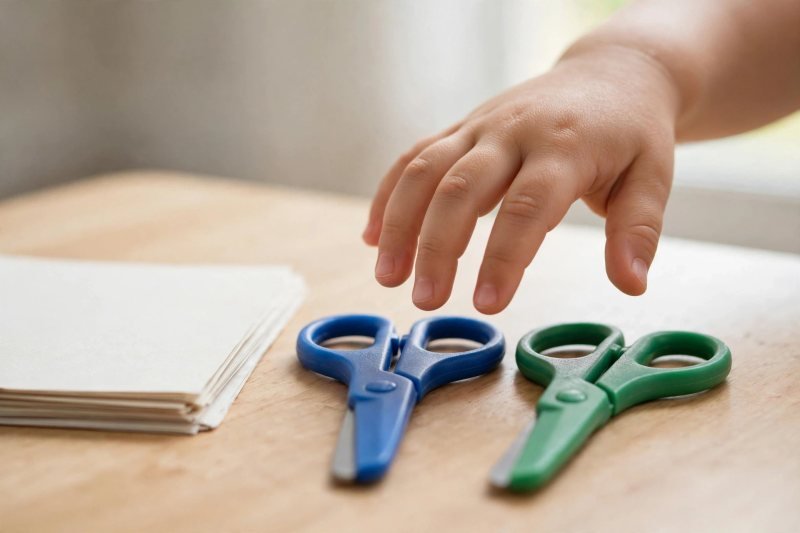
Pick scissors that fit your child's hand. Blunt tips, spring-assisted handles. If your child strains to open the blades, they're too big. Left-handed children deserve true left-handed scissors — reversed blades keep the cutting line visible.
-
Teach the thumbs-up grip. "Thumb in the top hole, pointing to the sky; fingers in the bottom hole." Practice opening and closing in the air first — that motion is the whole skill.
-
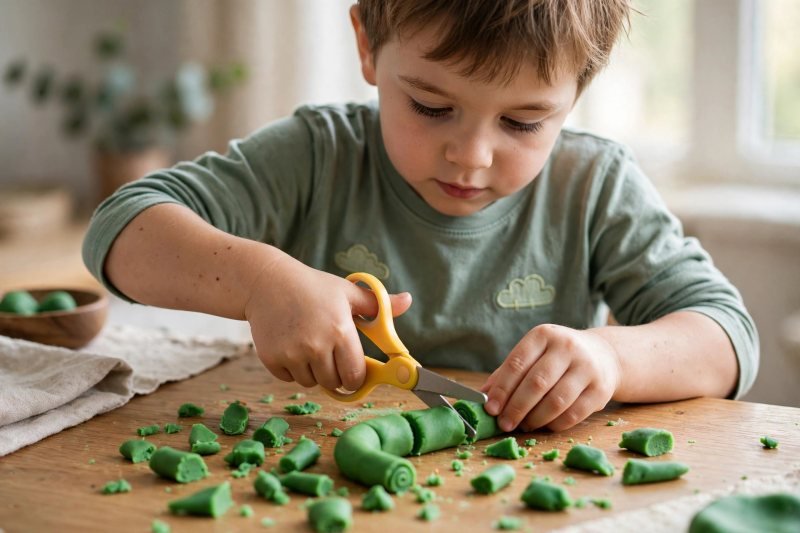
Snip playdough snakes. Roll thin snakes and chop them into segments — the kindest first material, since it never bends away from the blades.
-
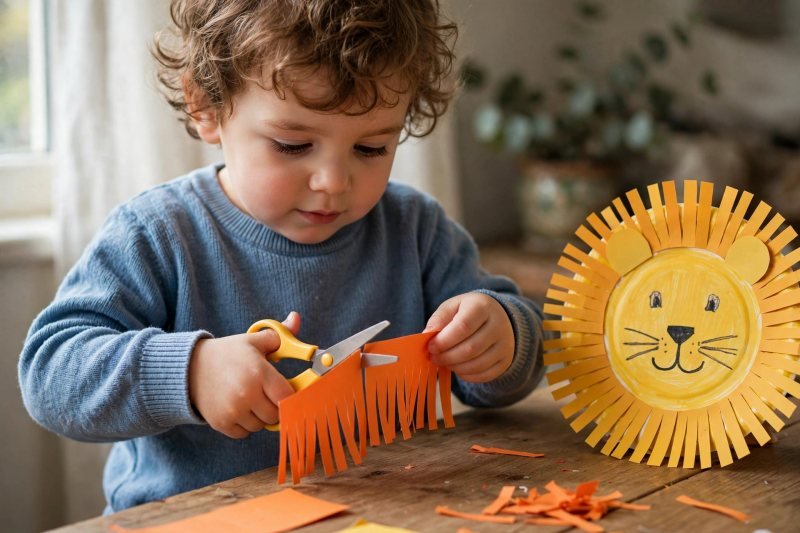
Fringe paper strips. Snip cuts along one edge of a one-inch construction-paper strip without cutting through. Tape it around a paper plate and it becomes a lion's mane.
-
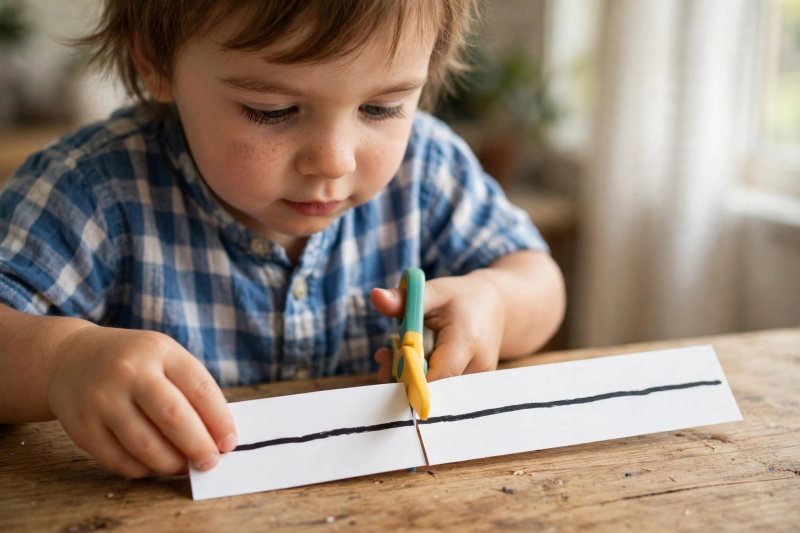
Cut thick straight lines. Draw bold, crayon-thick lines across card stock and cut along each one. Thick lines forgive wobbly steering.
-
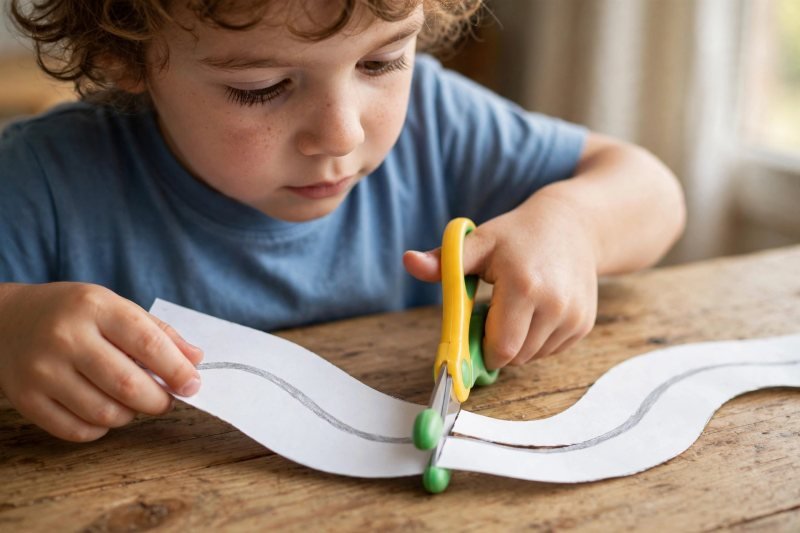
Try zigzags and curves. Graduate to zigzag bolts and gentle waves: the helper hand learns to turn the paper while the cutting hand keeps snipping.
-
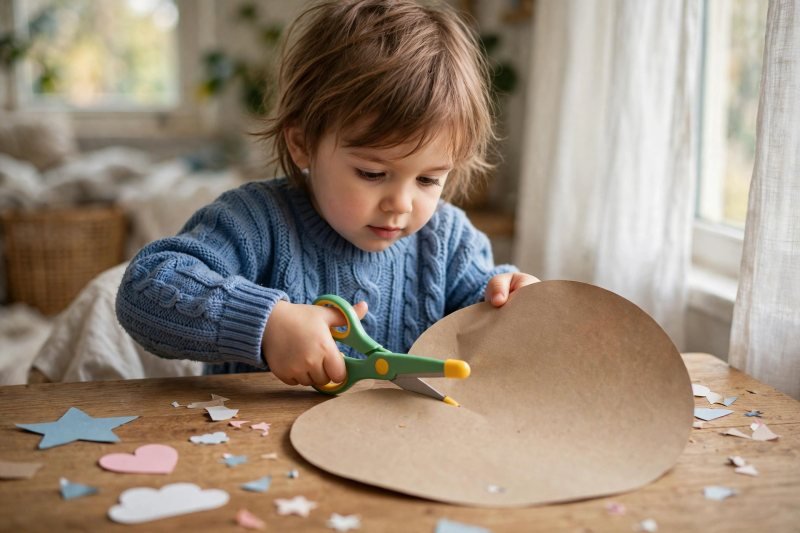
Cut out simple shapes. Draw big, bold circles, triangles and squares. Rough edges are fine — a roughly-cut circle from a 3-year-old is a triumph.
-
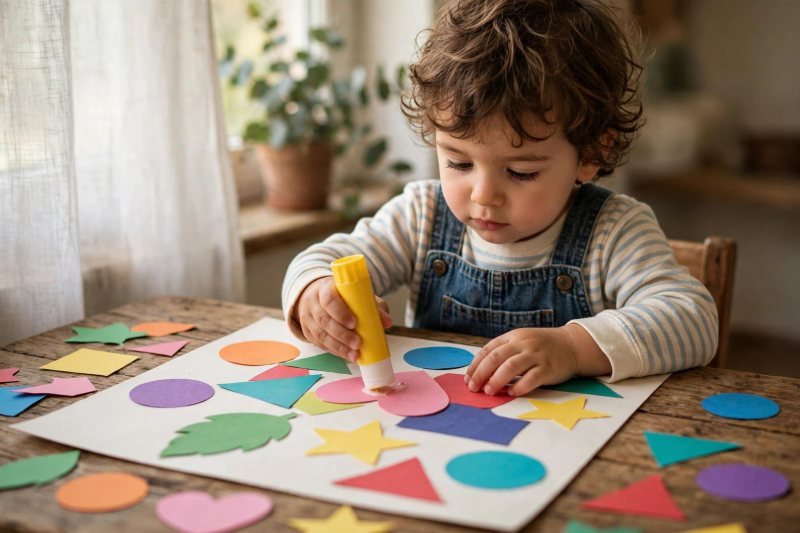
Make something with the cuttings. Glue shapes into a collage, string cut straws into a necklace, or tape strips into a paper chain. A finished product closes the loop: cutting was making, not practice.


Make it easier
Spring-loaded scissors that pop open on their own, card stock instead of thin paper, 5–10 minute sessions. For tiring hands, snip soft things: playdough, cooked spaghetti, thin foam. Tape one paper edge to the table so it can't slide.
Make it harder
Cut smaller shapes (two inches across), follow dotted lines, or cut two thin layers at once. Try staying exactly on a line without crossing it — precision sharpens control fast. Pair shape cutting with shapes activities for preschoolers.
Other ways to play it
- Hide practice in pretend play: a barber shop for stuffed animals (snip paper strips taped to their heads), a pizza parlor cutting paper pizzas into slices, a garden to trim paper flowers. Children cut far longer when running a shop.
- The activities below practice the progression above on purpose — mix one familiar favorite with one new challenge per session.
- What are the easiest first cutting activities for a 3-year-old?
- Snip playdough snakes. Chop rolled snakes into segments — the softest first material.
- Confetti cutting. Snip scrap strips into tiny squares; the pile makes every snip feel productive.
- Fringe a lion's mane. Snip slits around a paper plate's edge, add a drawn lion face.
- Cut cooked spaghetti. Soft, floppy and funny — kind on tiring hands.
- Snip straws into beads. Cut straws into sections, thread onto yarn for a necklace.
- Cut coupons and junk mail. Old flyers feel like real helping.
- How do I teach my preschooler to cut along lines?
- Thick straight-line strips. Bold crayon lines on card stock, which resists bending.
- Cut the grass. Snip green paper blades down to a baseline — stopping at a line is a real skill.
- Zigzag lightning. Cut zigzag bolts for a storm picture; corners teach start-stop control.
- Wavy river roads. Cut thick wavy lines, glue strips onto blue paper as rivers.
- Spiral snakes. Cut a drawn spiral from outside in — it uncurls into a snake.
- Follow the road home. Cut along a curving road from the page edge to a drawn house.
- What cutting crafts can preschoolers make?
- Paper chains. Cut strips, loop and tape them into chains.
- Shape collage. Glue cut circles, triangles and squares into robots or houses.
- Cut-out masks. Cut a big oval from card stock, decorate, tape on a straw handle.
- Snowflake folding. Fold paper, snip notches on the folded edge, unfold the surprise.
- Fringe theater curtains. Tape fringed strips across a box opening as stage curtains.
- Cut-and-glue mosaic. Glue small cut squares edge-to-edge inside a big drawn shape.
- Monster haircuts. Draw monsters with wild hair, then snip each haircut shorter.
- Cutting bin free choice. A tray of strips, straws, playdough snakes and old magazines — just cut.
- Use the progression on a real make — our bird feeder craft for preschoolers needs careful cutting and gluing.
How it changes by age
- At 3, expect snipping and fringing. Most 3-year-olds can't cut along a line yet, and that's right on track. By 4, many children manage straight lines, simple curves and rough circles. If your 4-year-old still prefers snipping, keep offering lines without pressure — control often clicks suddenly.
- Before lines and shapes, pre-writing strokes worksheets build the steering control.
What they're learning
The cutting hand builds the open-close strength and finger separation behind a mature pencil grip; the helper hand learns to guide and turn the paper — bilateral coordination, the two-hands-different-jobs skill writing demands. Following lines trains hand-eye coordination; judging where to stop builds spatial awareness. This two-hands-different-jobs coordination is the heart of writing readiness. Cutting is fine-motor work — see our fine motor activities for preschoolers for the wider hand-strength picture.
Clearing up
Cuttings go into a "scrap box" for future collages — children love filling it. Sweep bits with a small dustpan — your preschooler can do it — wipe the table, and put scissors back in their spot.
Questions parents ask
What age can a child use scissors?
How do I teach a left-handed child to cut?
My child moves the paper instead of the scissors — is that normal?
What are the best child-safe scissors for preschoolers?
How long should preschoolers practice cutting each day?
Frustrated? Drop back one step in the progression and stay there happily for a week. Watch for hand fatigue: drifting scissors, a sliding grip, sighing. Stop before tears start. For left-handed children, clear space on their left and consider true left-handed scissors rather than forcing right-handed ones.
If grip fatigue persists, pencil grip activities for kids build the hand strength cutting needs.

save it for later
Pin this for the next rainy afternoon
Keep it on a board so it is there when you need it, rather than when you happened to find it.
Save to Pinterest

